2.2. Client Details
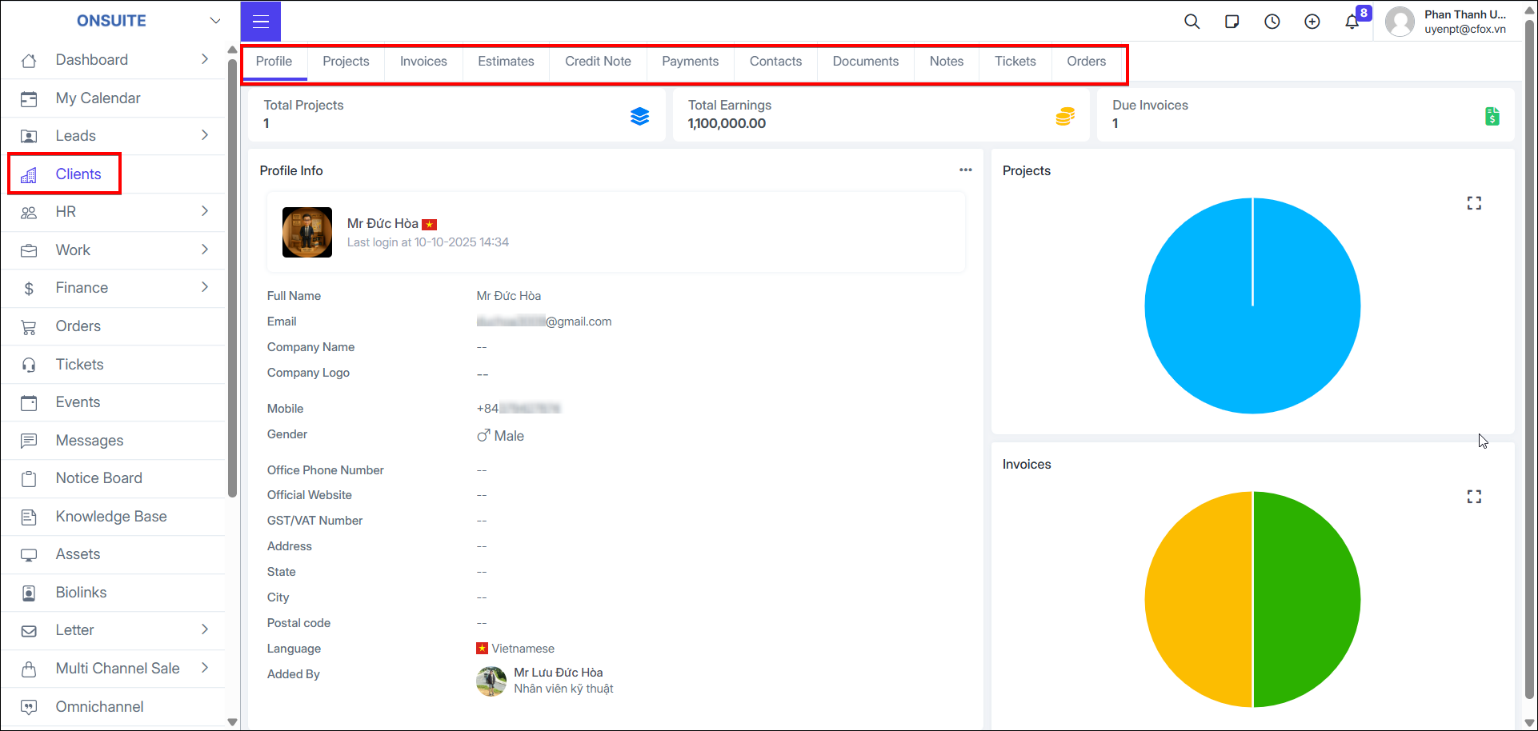
After opening a client record, the following tabs are available:
-
Projects
-
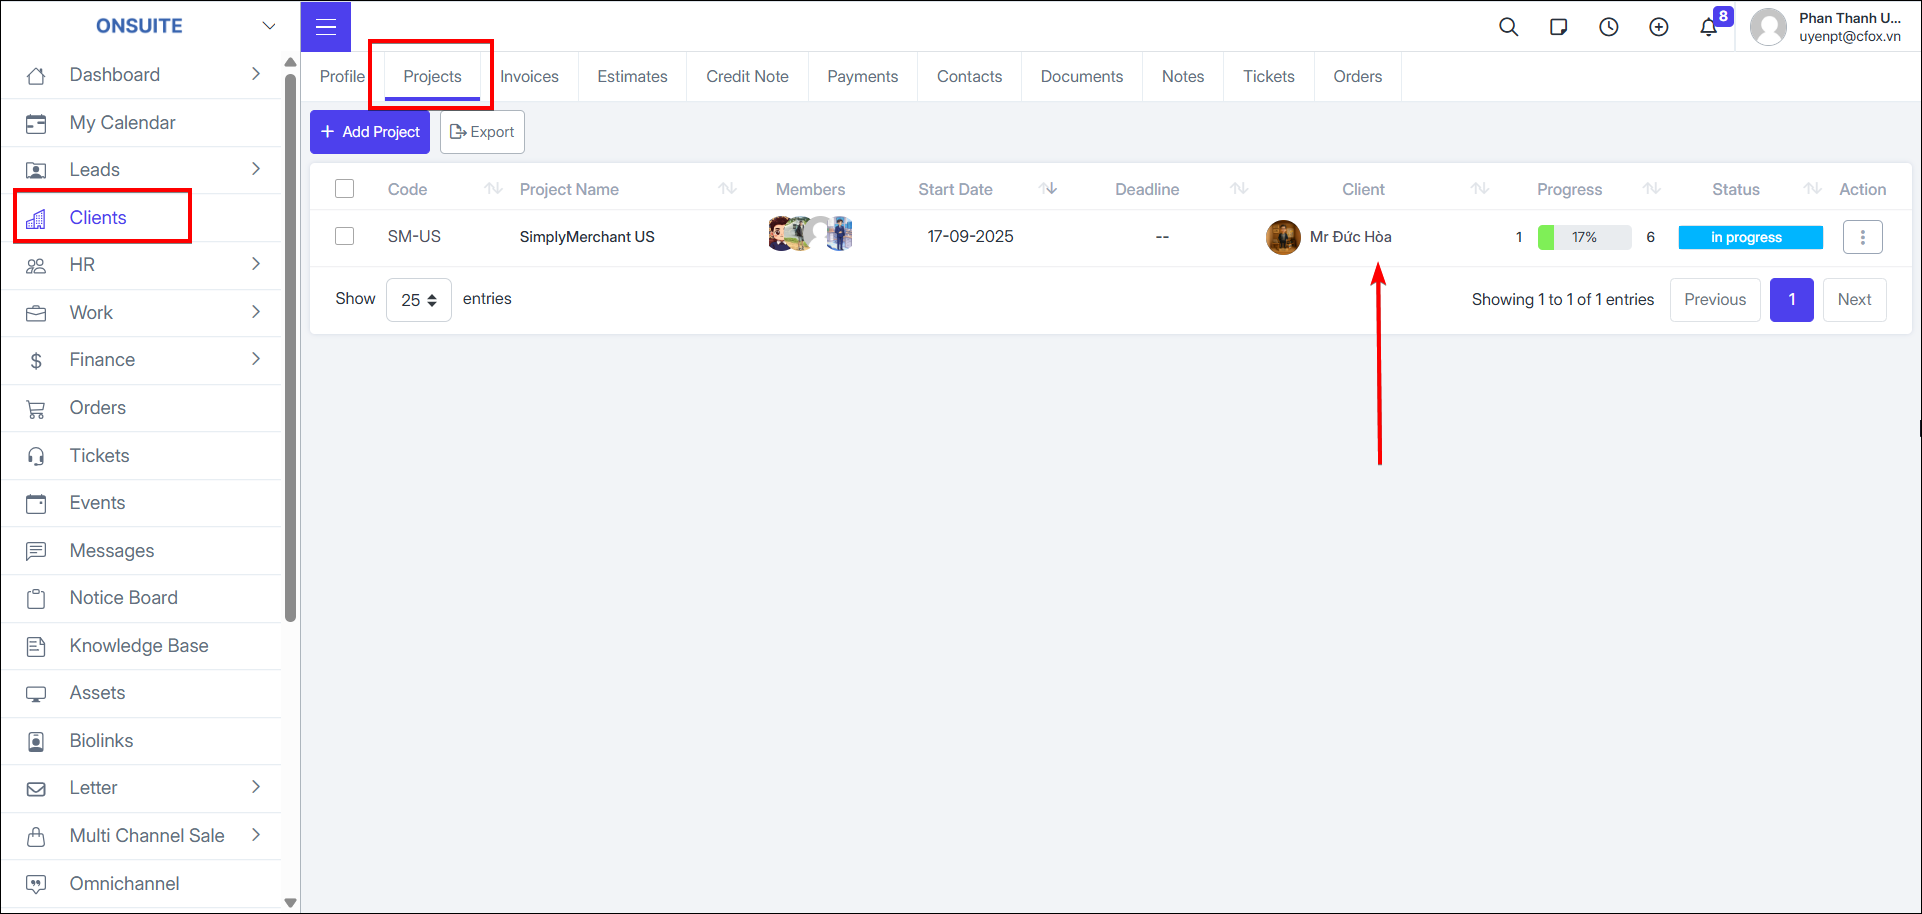
Go to Projects tab → View projects assigned to this Client
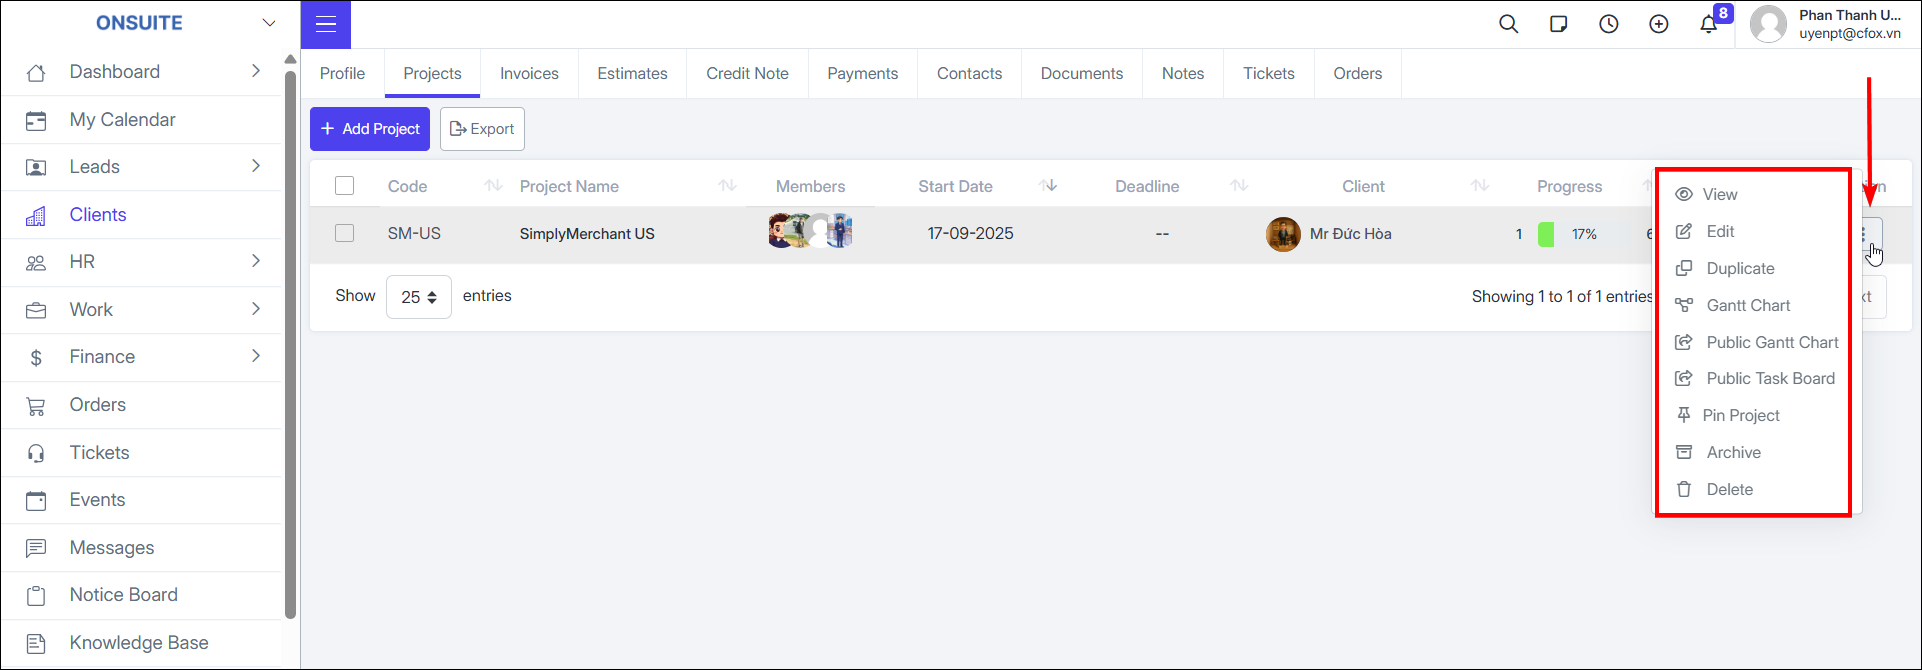
- For each project: View details; Edit; Duplicate; Gantt chart; Public Gantt chart; Make Task Board public; Pin project; Archive; Delete
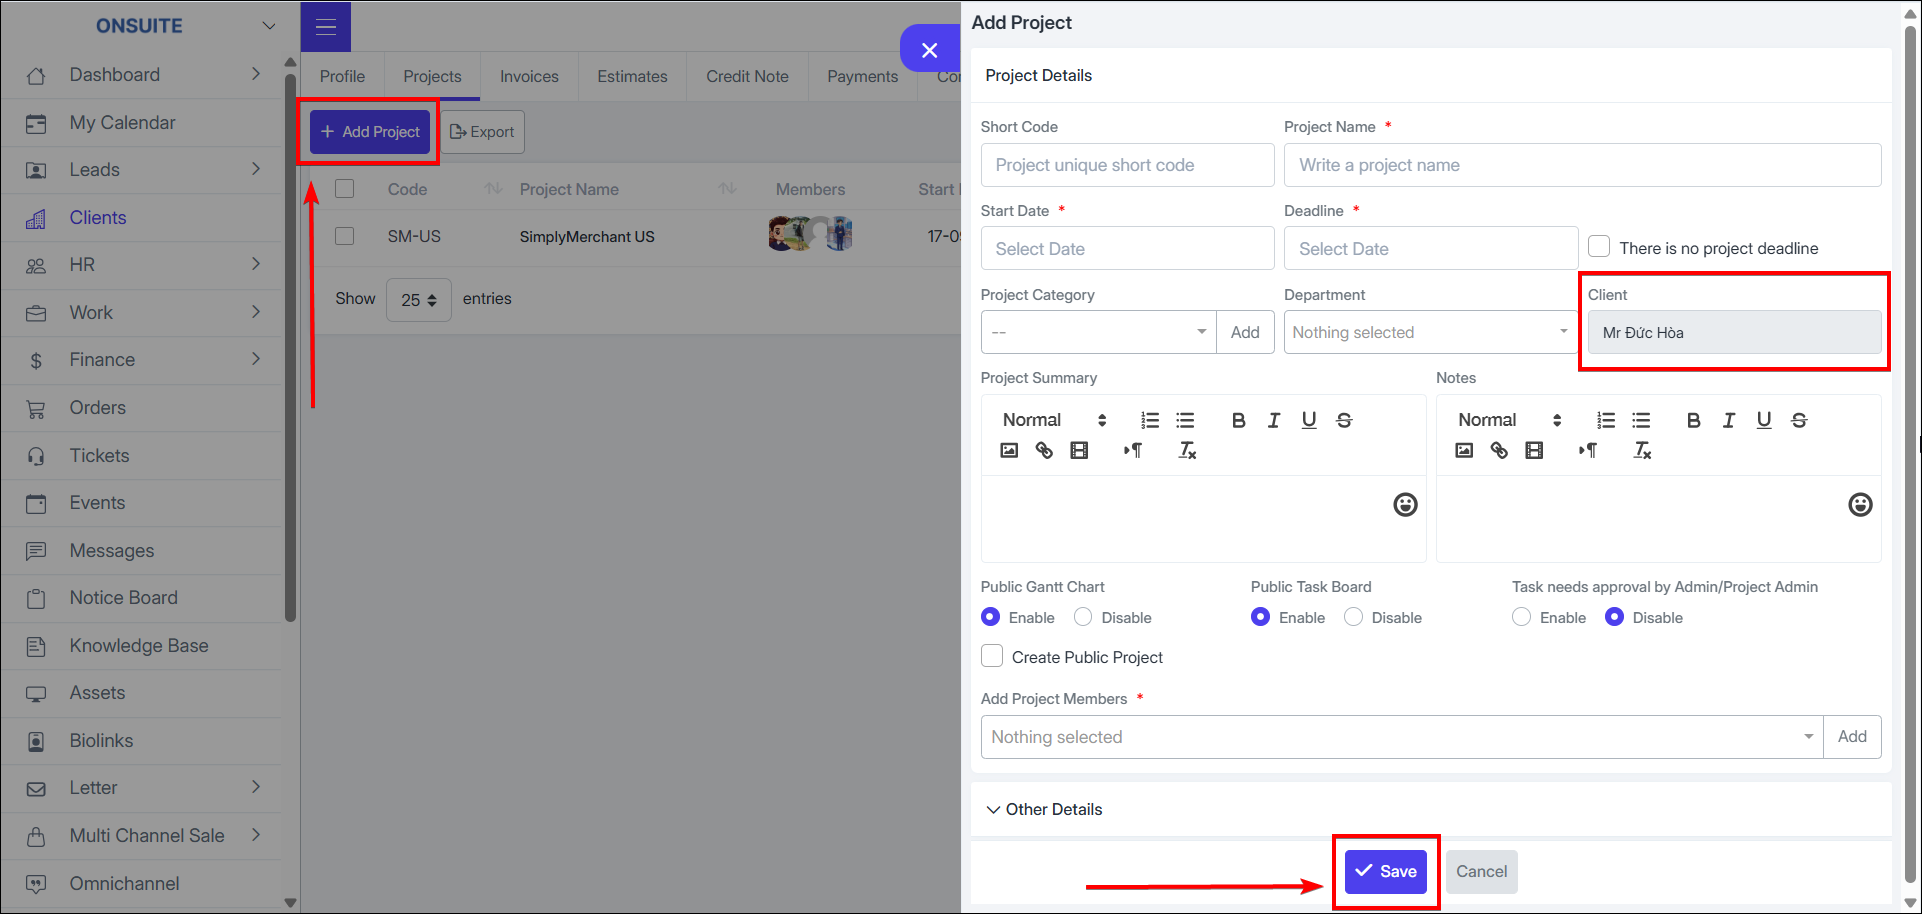
- Select to Quickly Add a New Project for the client → Enter project details (client is pre-selected) → Save to complete
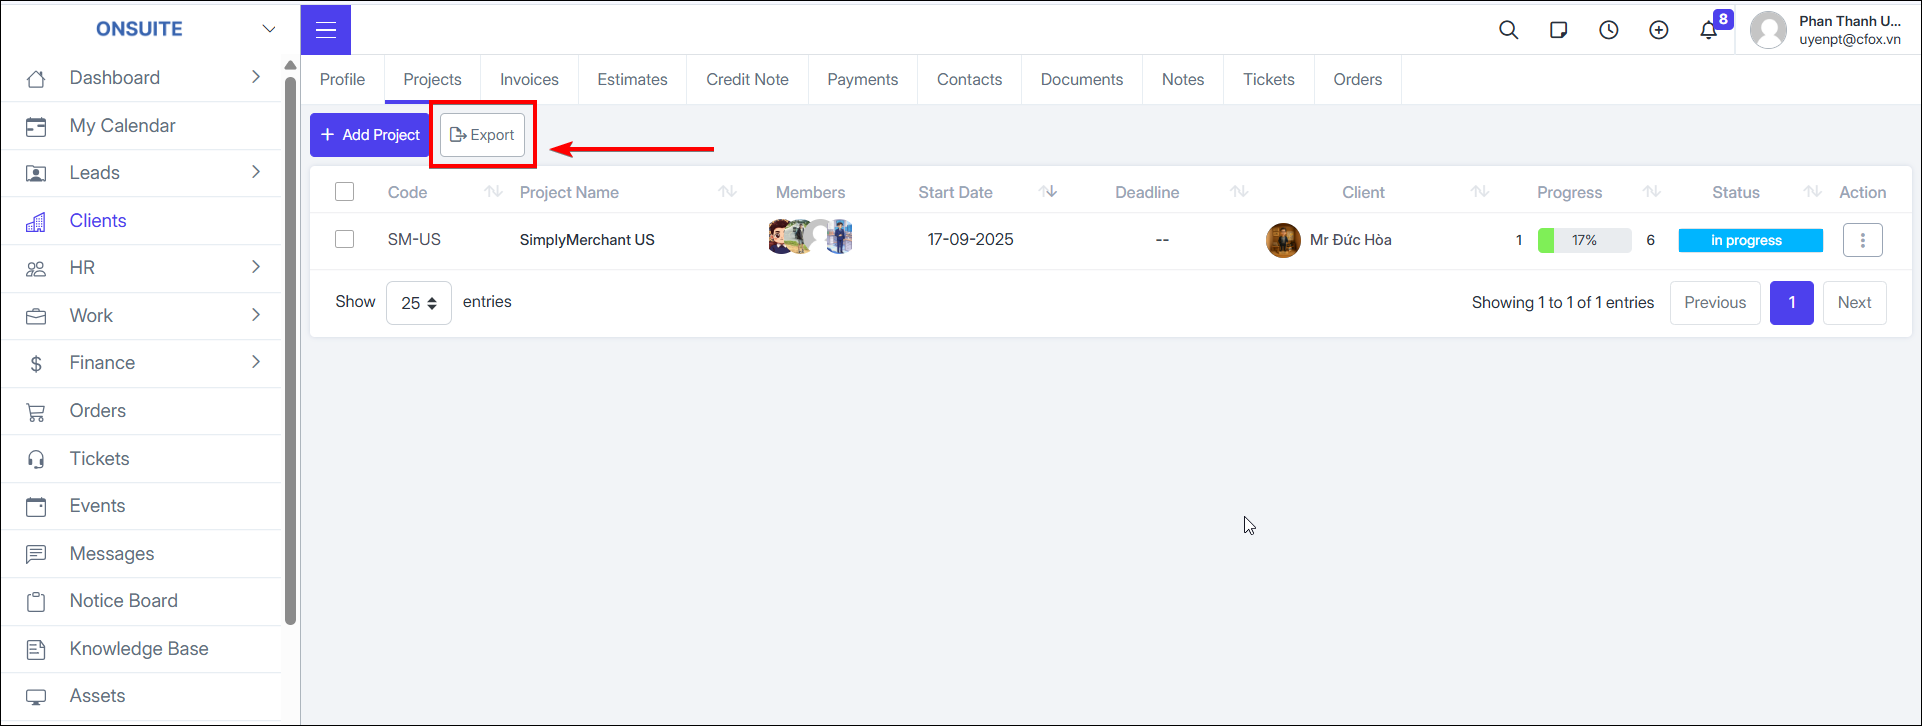
- Select to export to Excel

-
Invoices
-
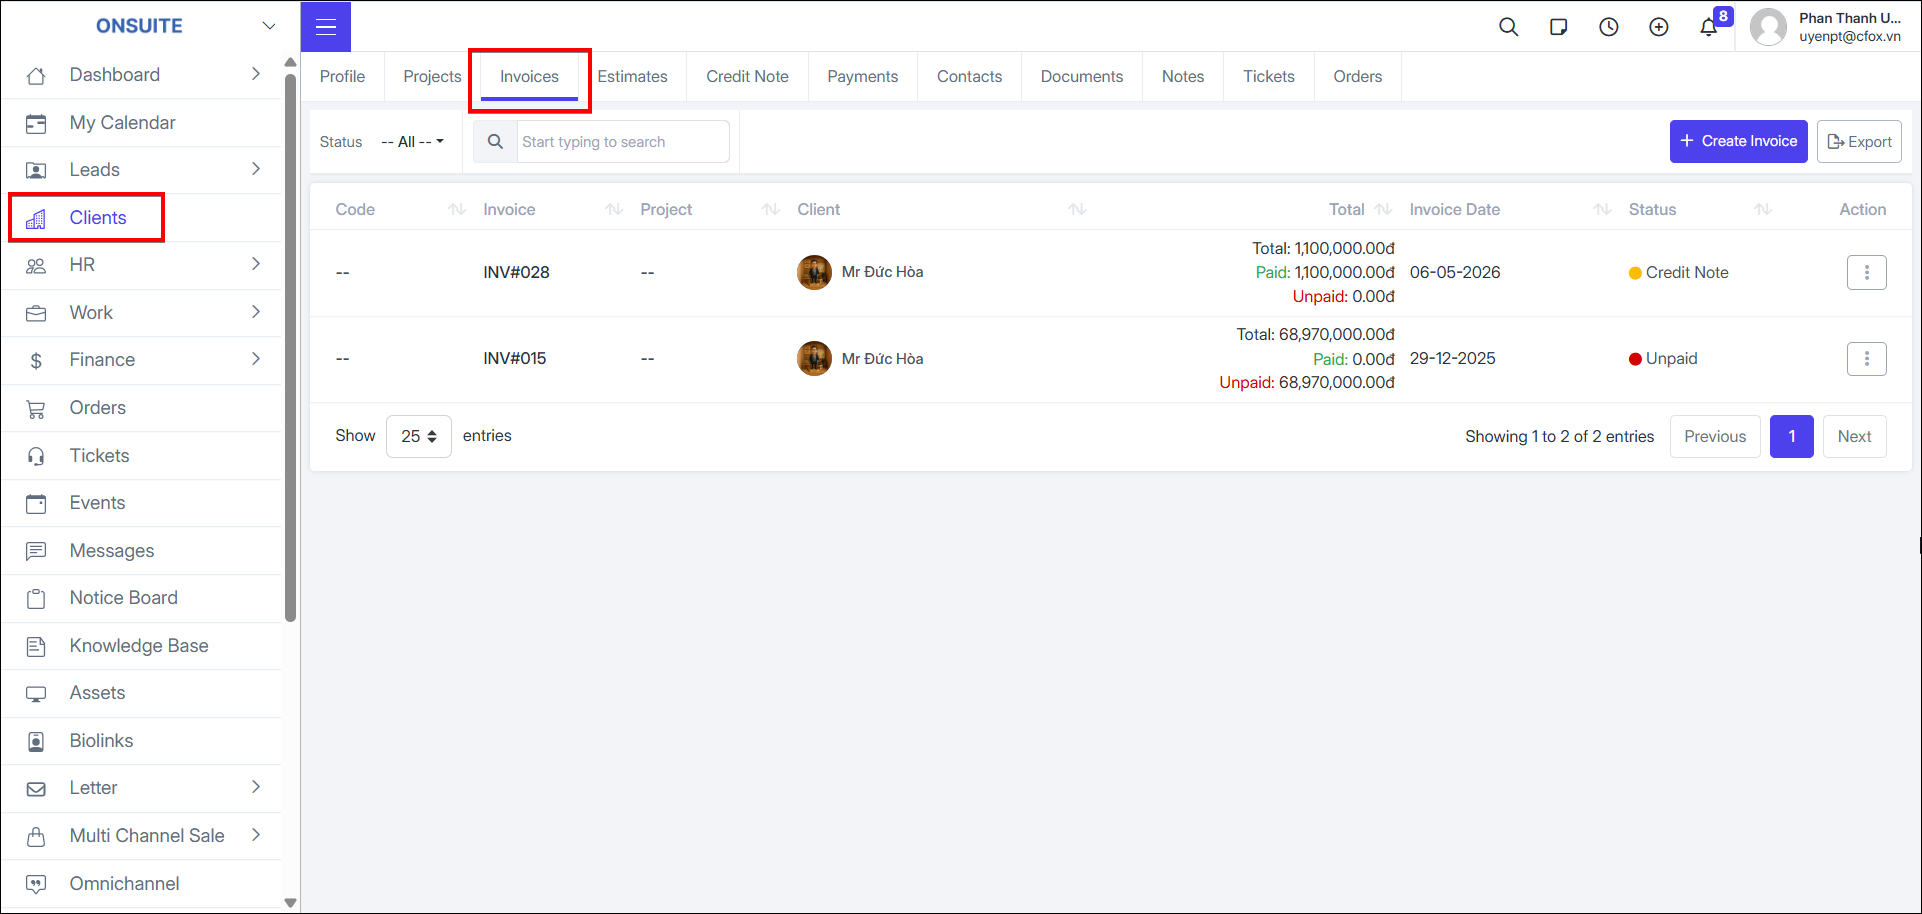
Go to Invoices tab → View invoices created for this Client
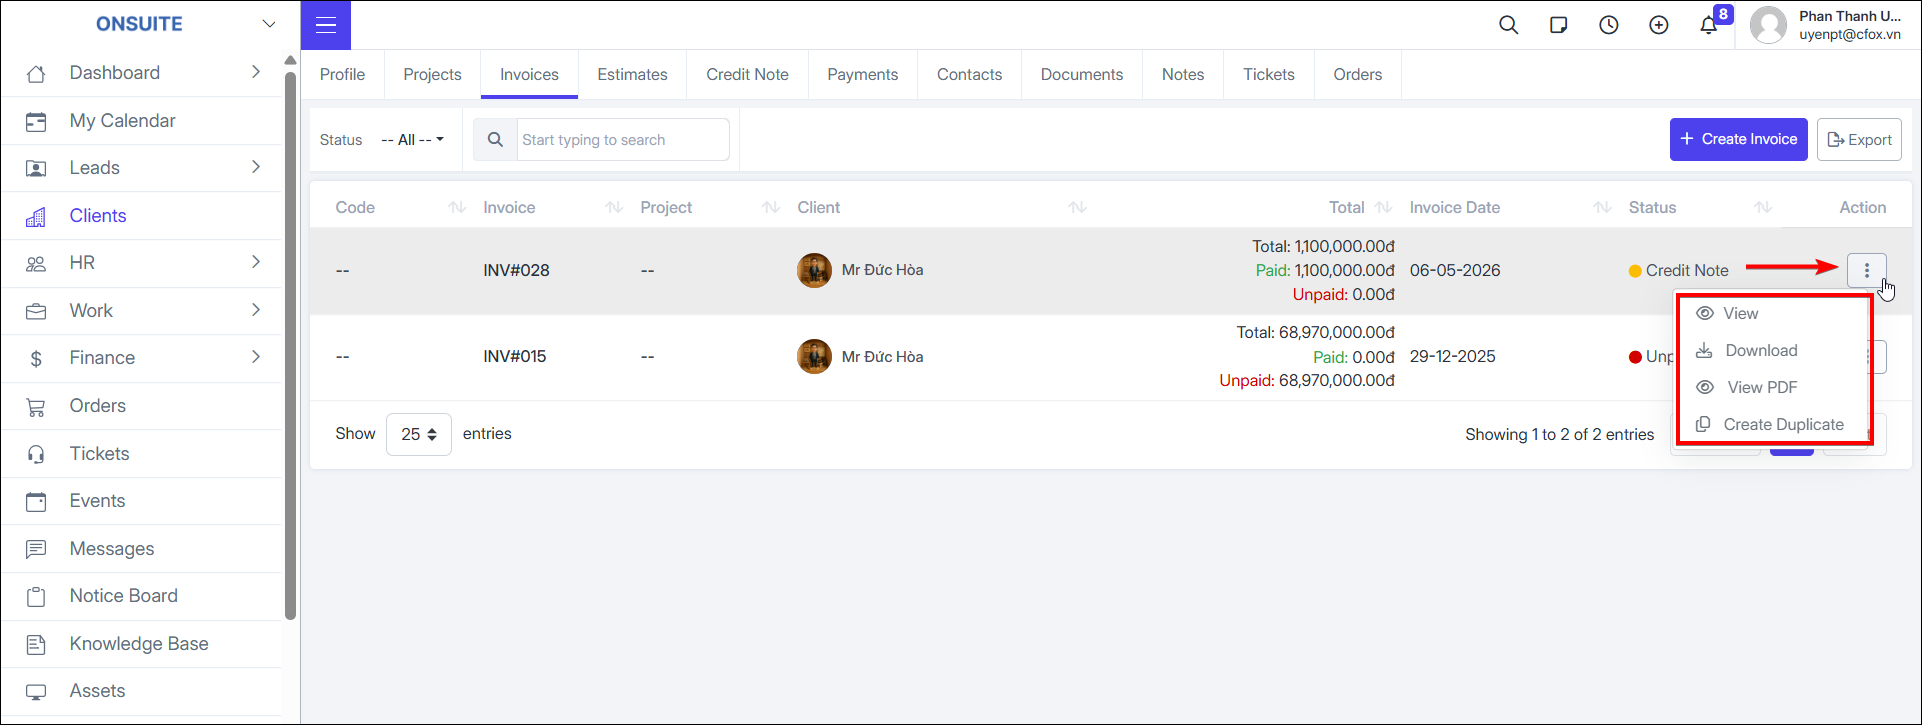
- For each invoice: View PDF; Send; Edit; Add payment; Add shipping address; Cancel; Copy payment link; View payment page; Payment reminder; Duplicate
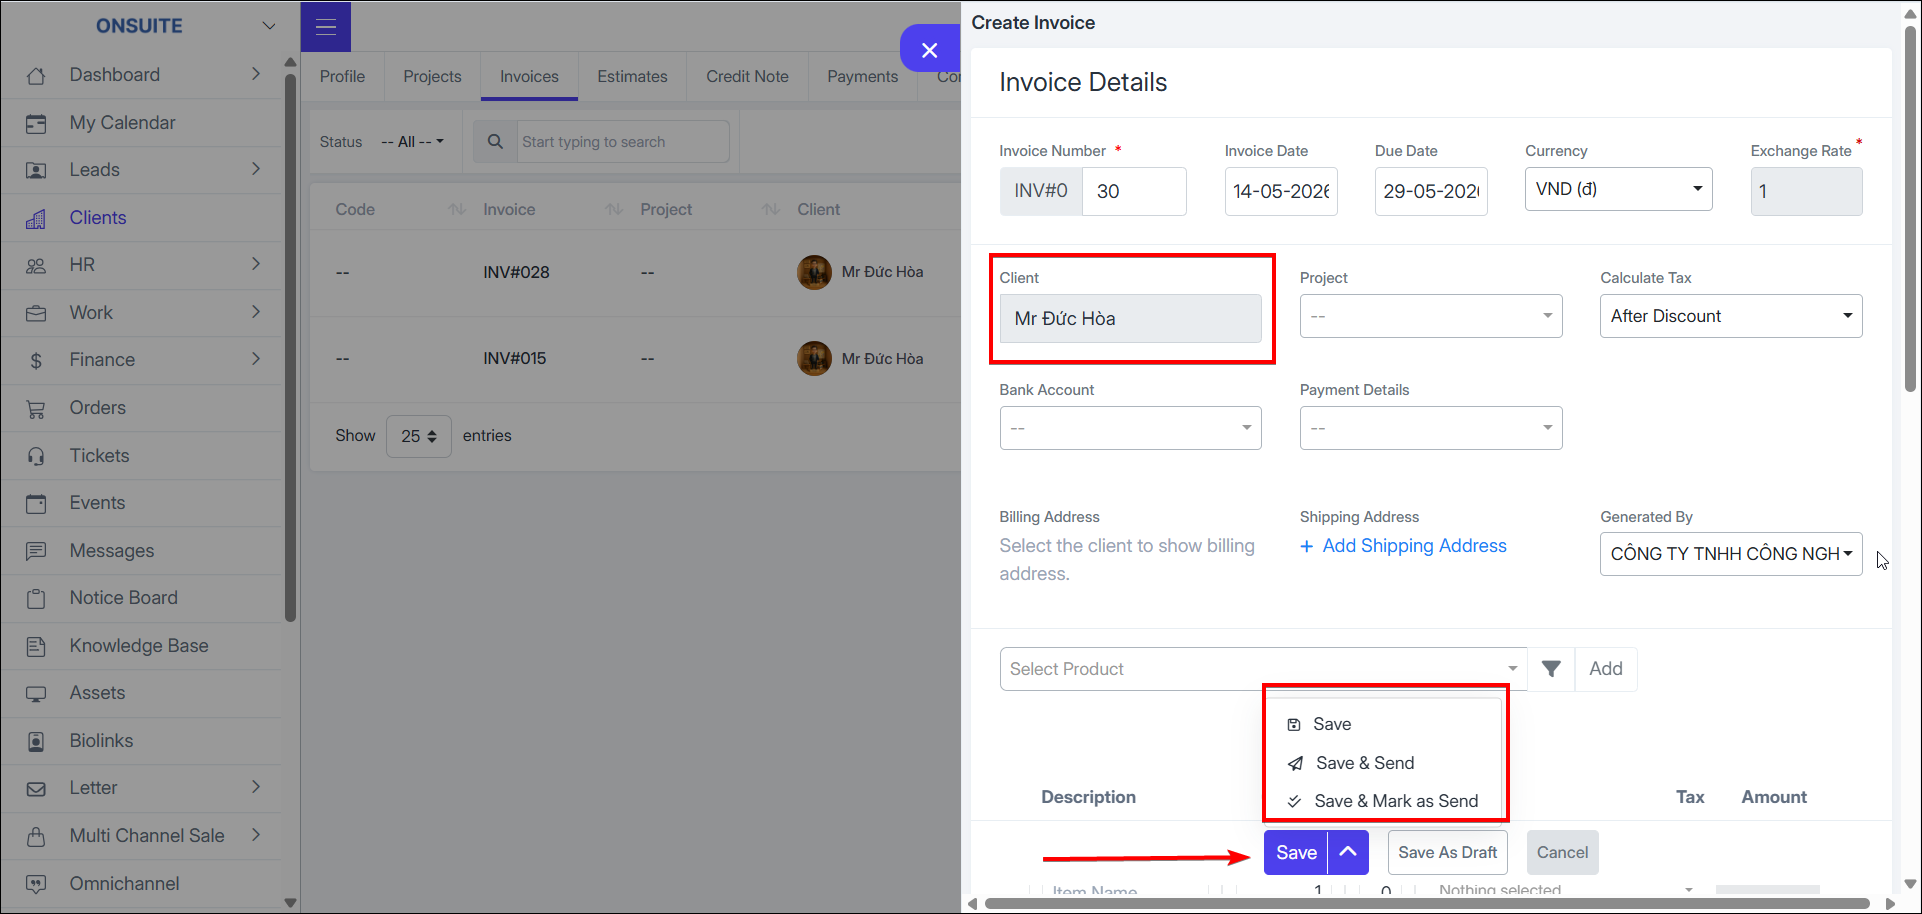
- Select Create Invoice → Enter invoice details (Client is pre-selected) → Save to complete
-
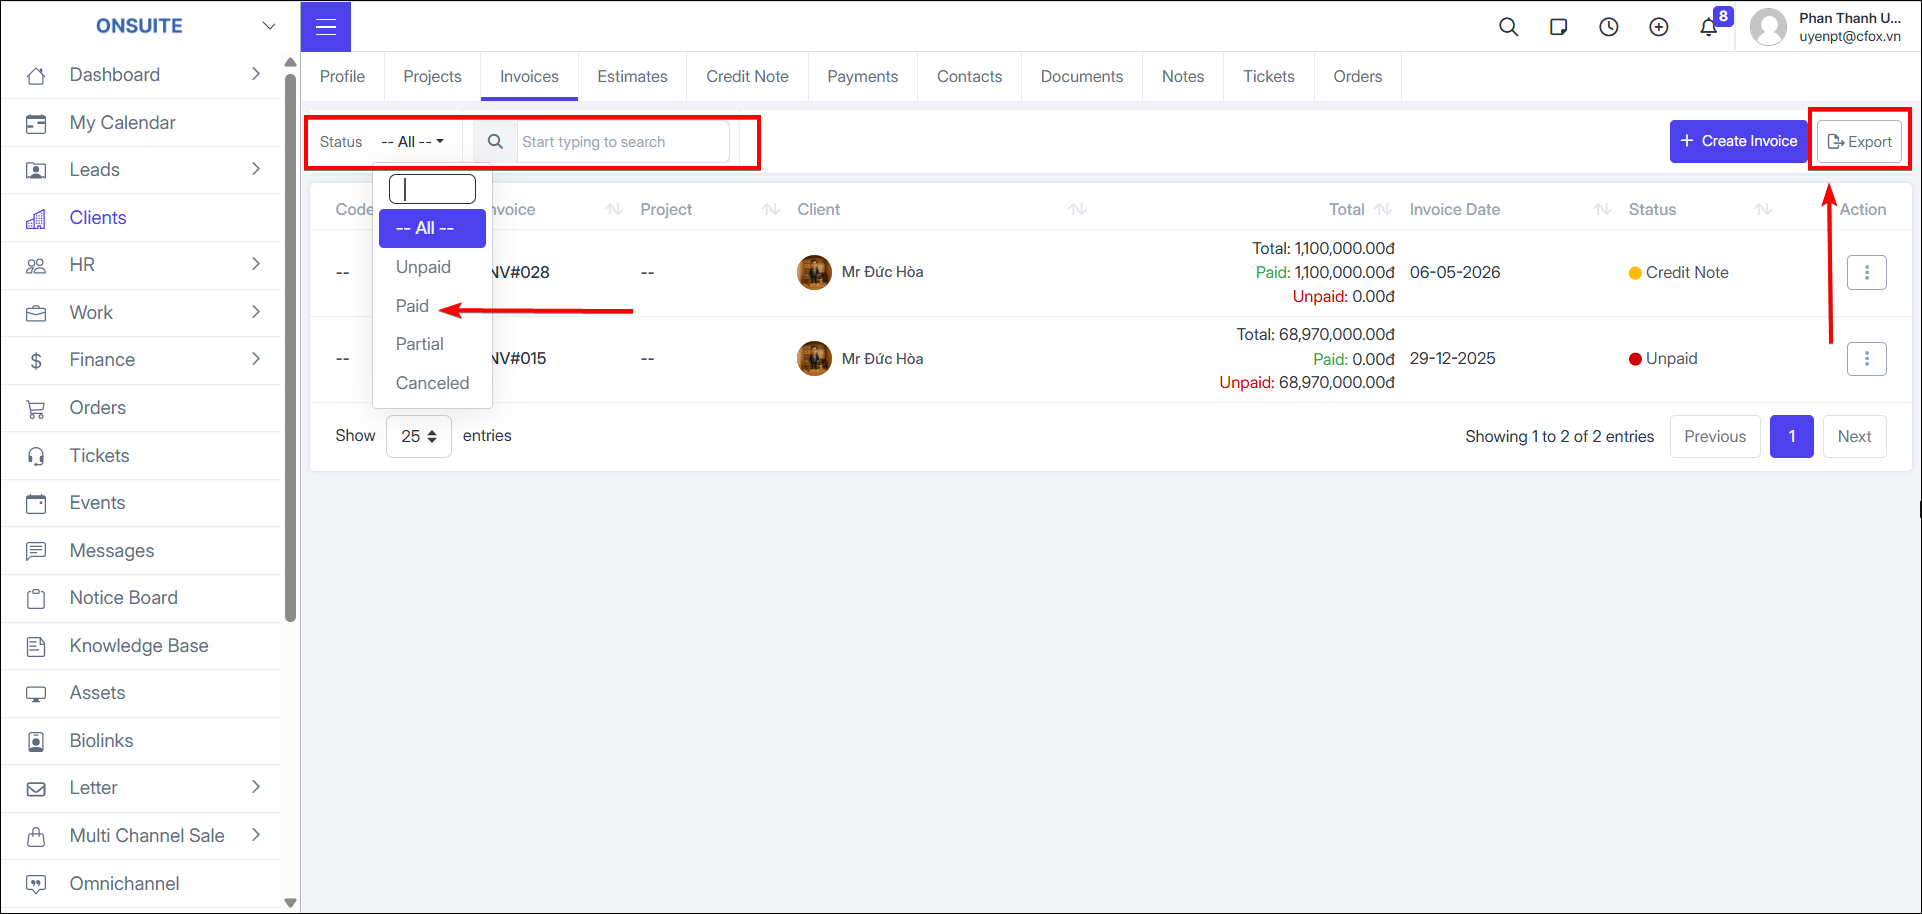
Select to export to Excel
-
You can search or filter invoices by status
-
Estimates
-
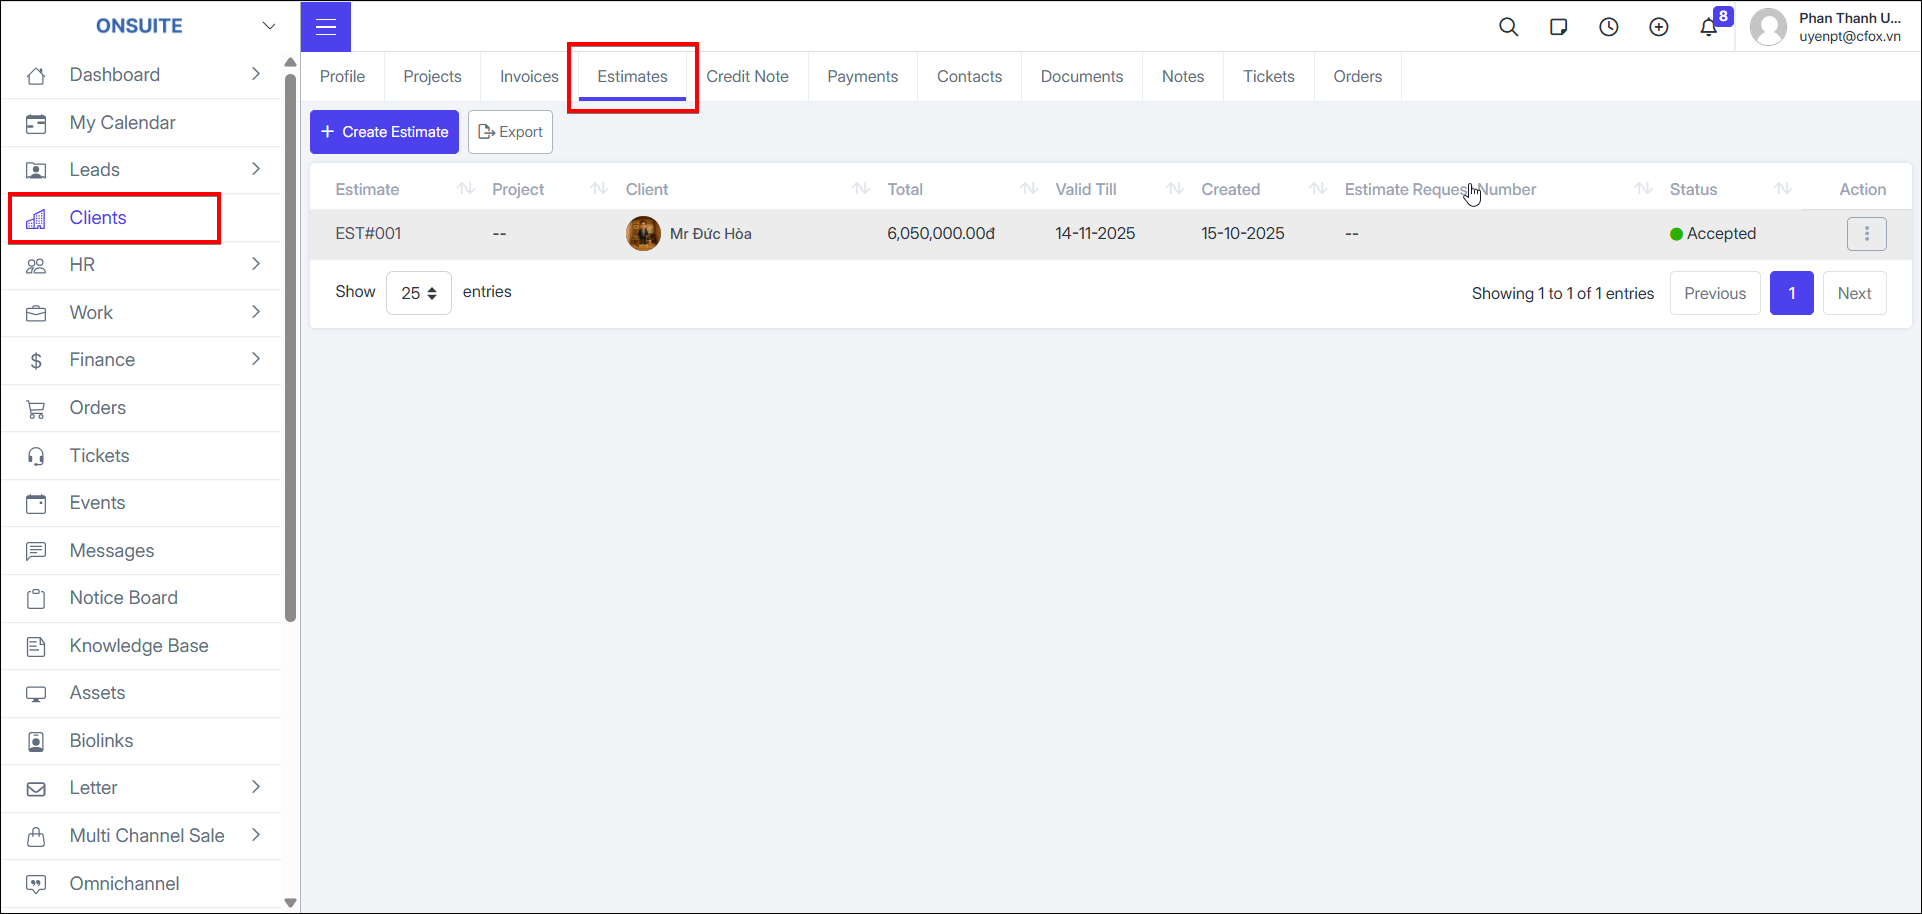
Go to Estimates tab → View estimates created for this Client
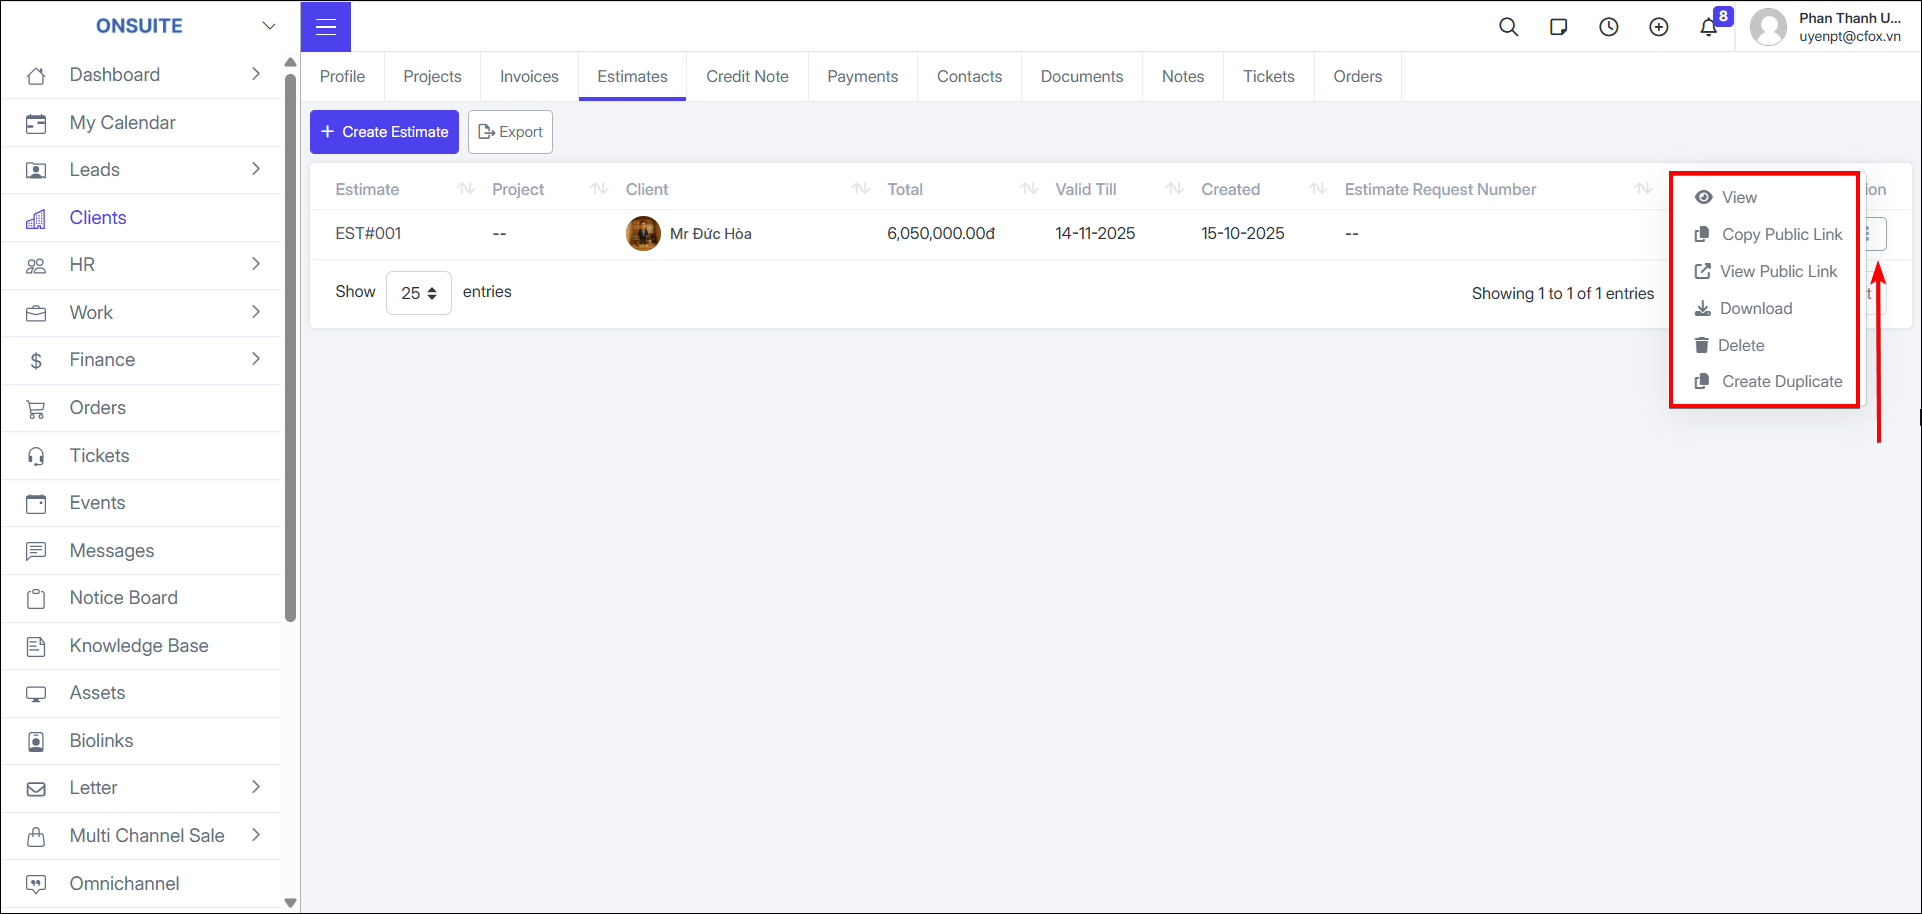
- For each quote: View; Copy public link; View public link; Download; Delete; Duplicate
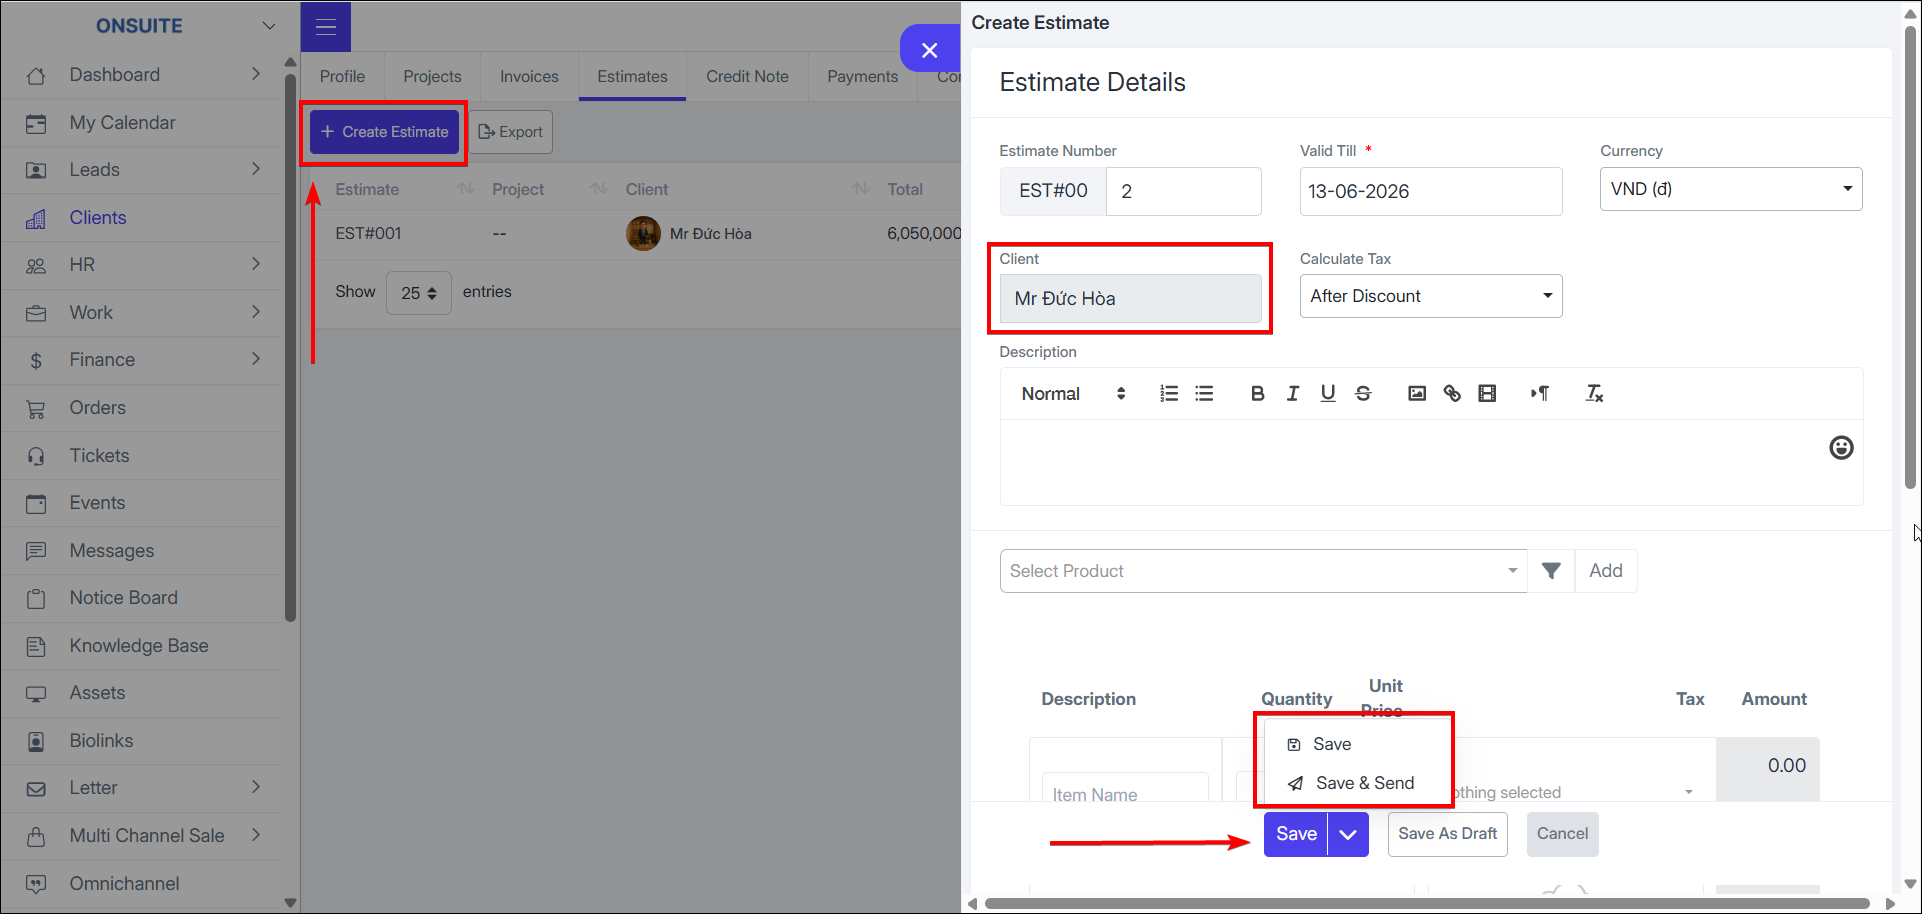
- Select Create Estimate → Enter Estimate details (Client is pre-selected) → Save to complete
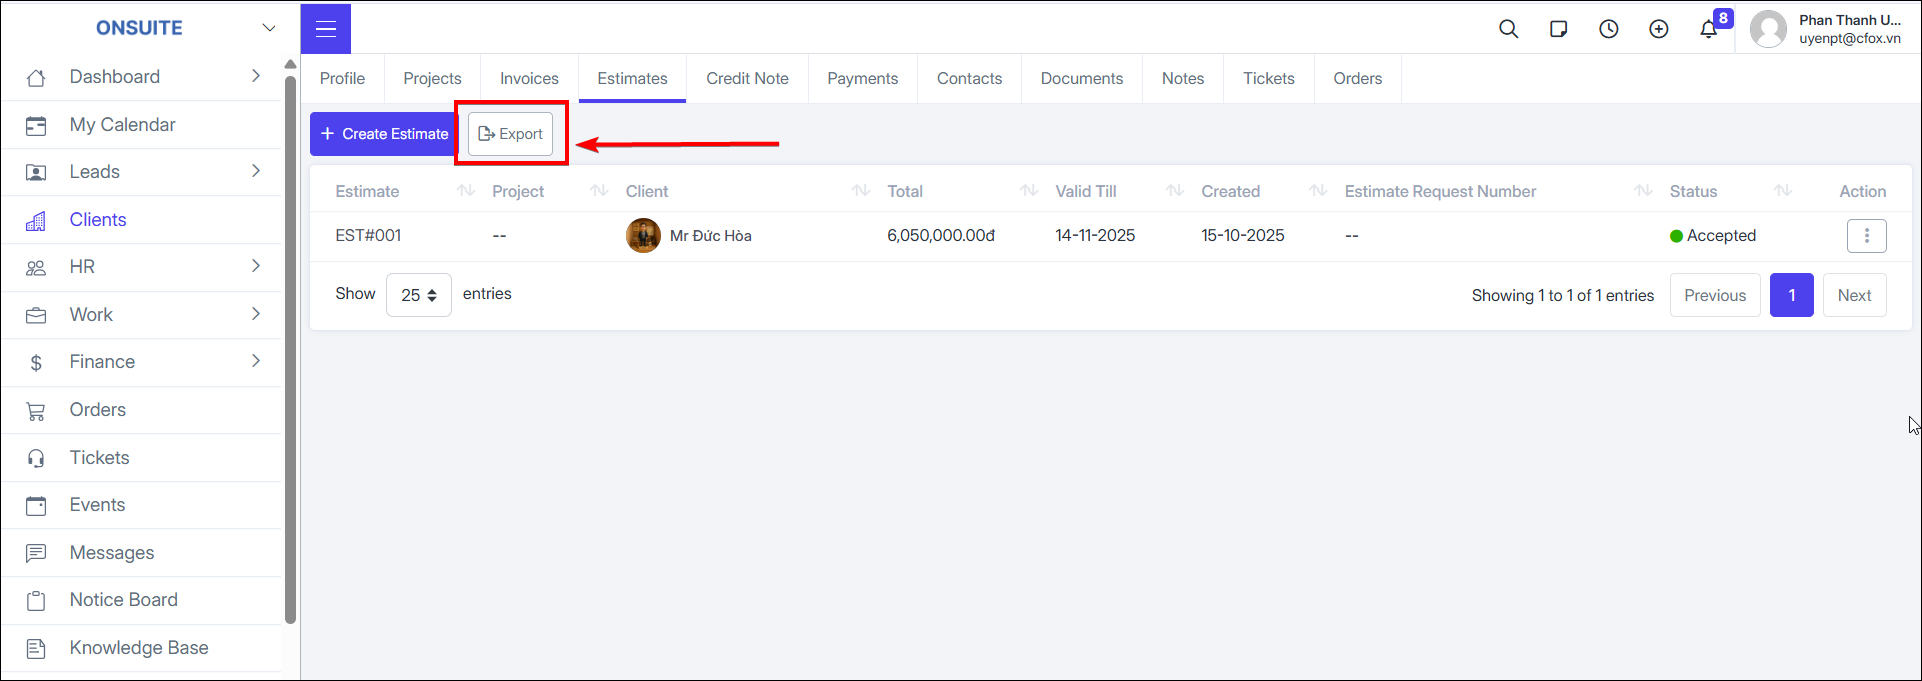
- Select to export to Excel
-
Credit Notes
-
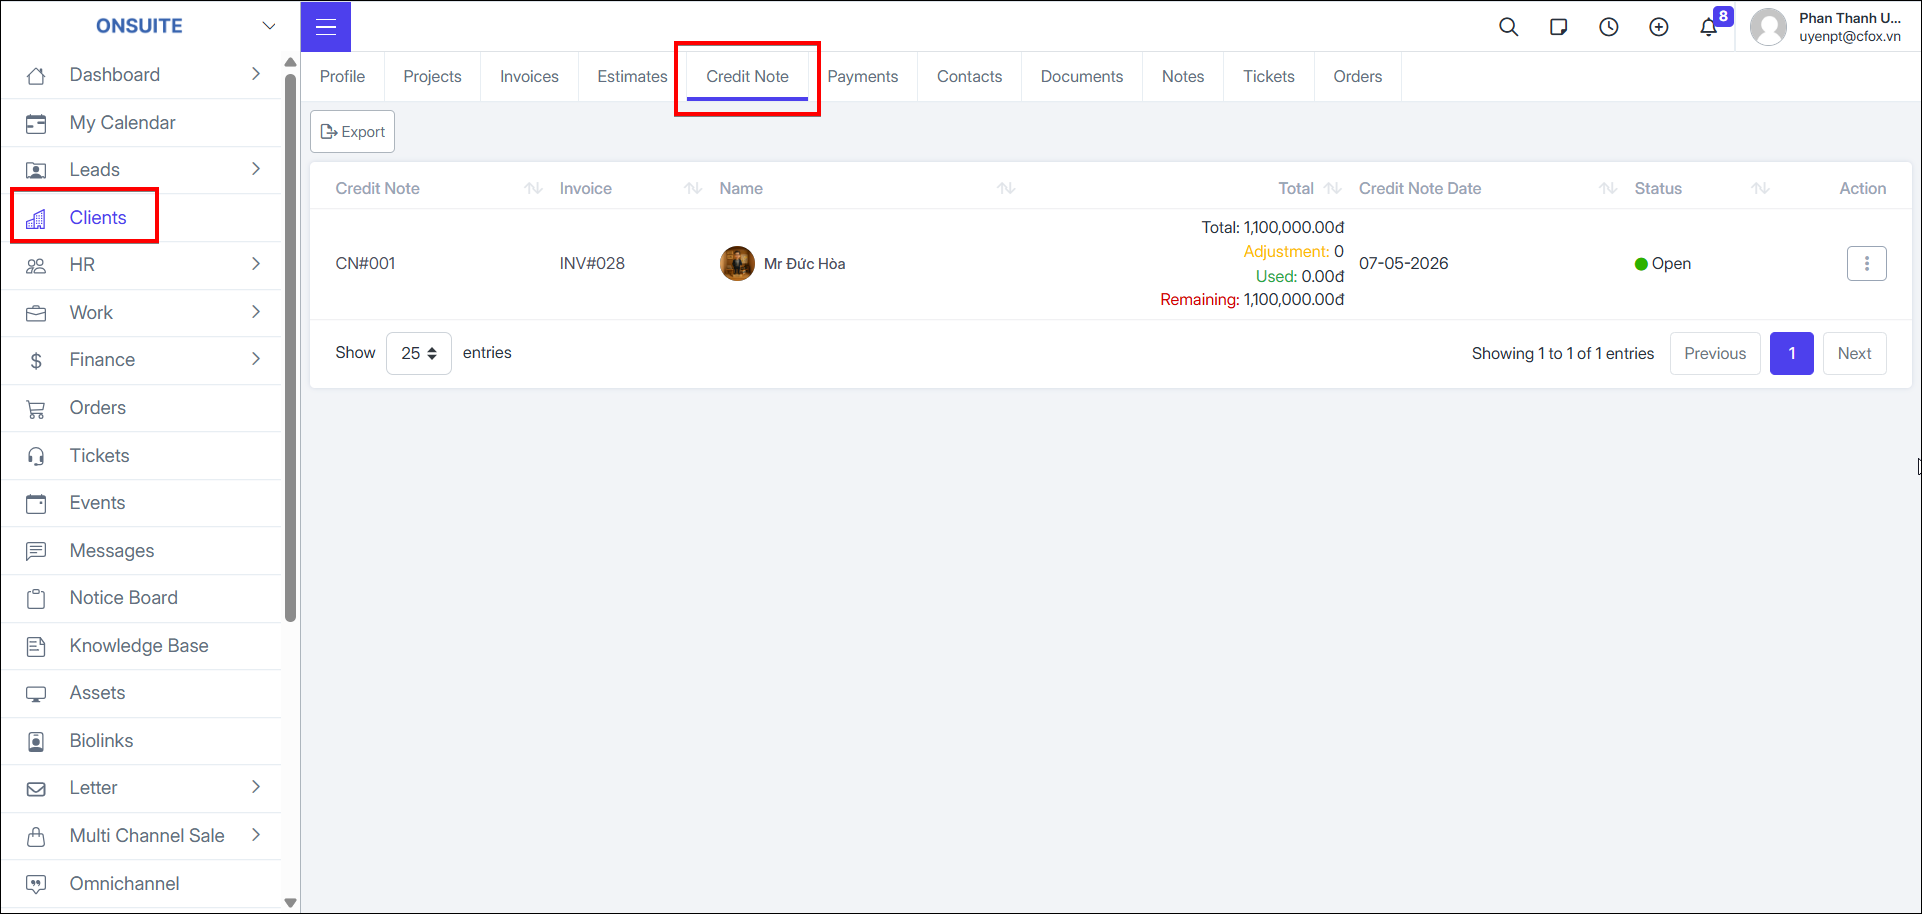
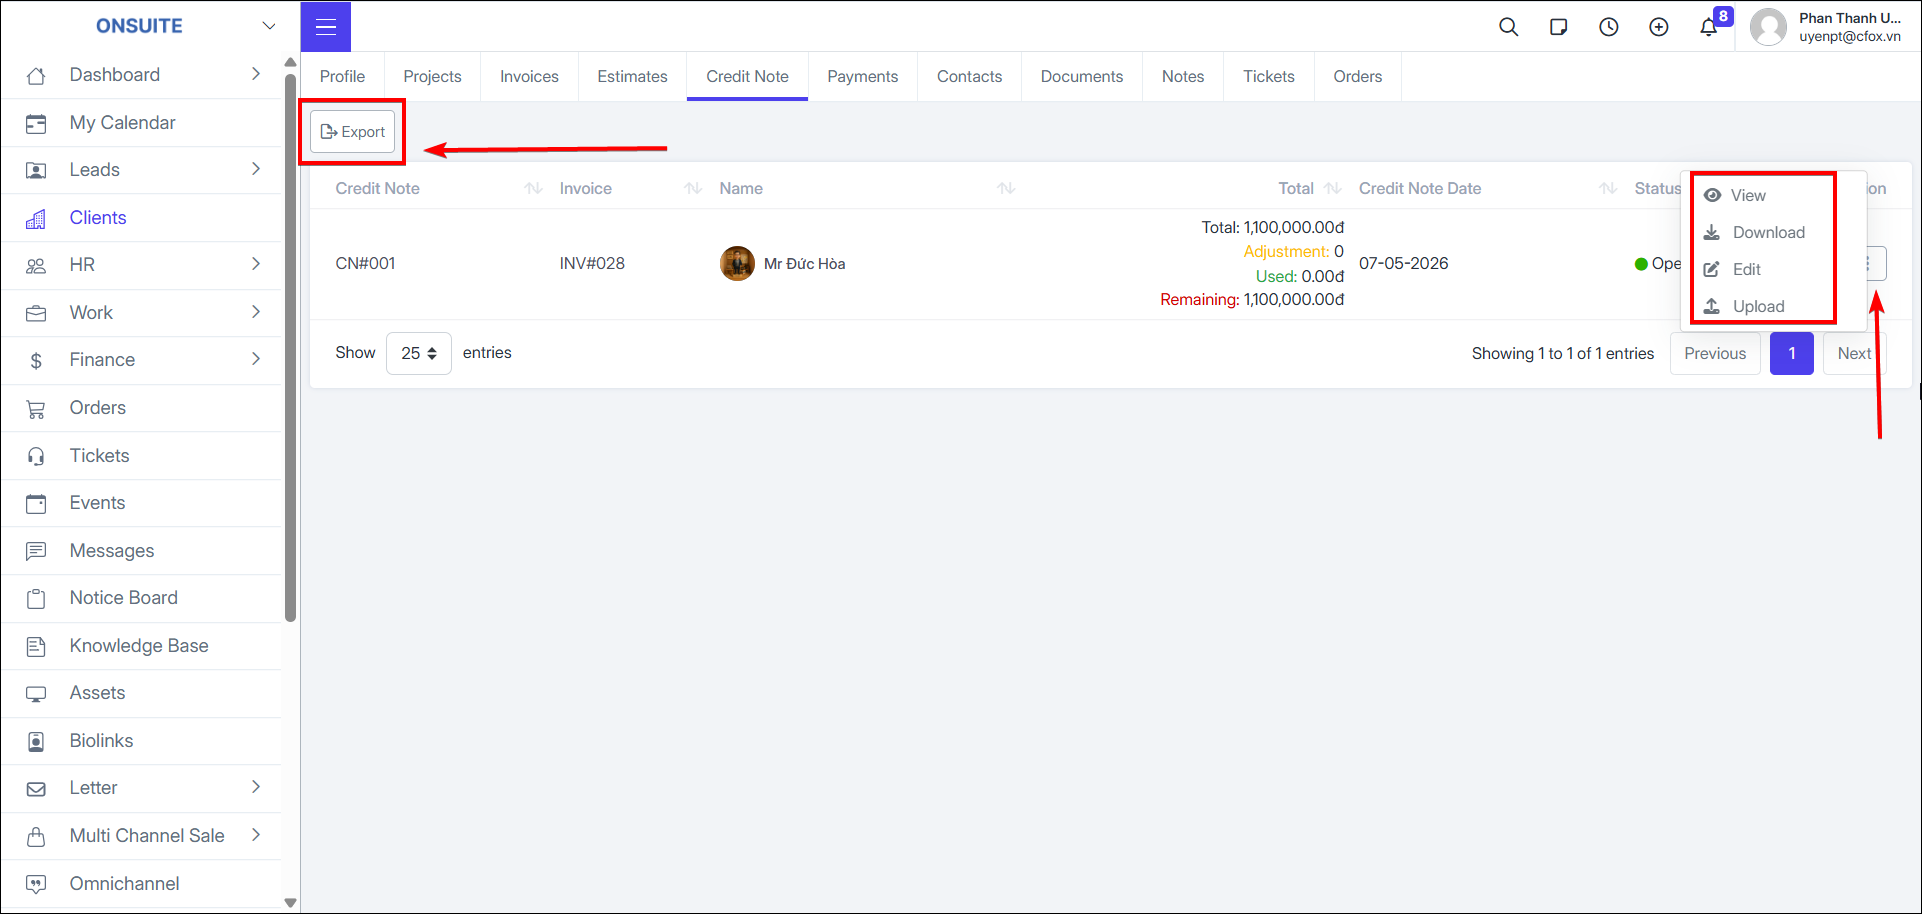
Go to Credit Notes tab → View credit notes for previously issued invoices
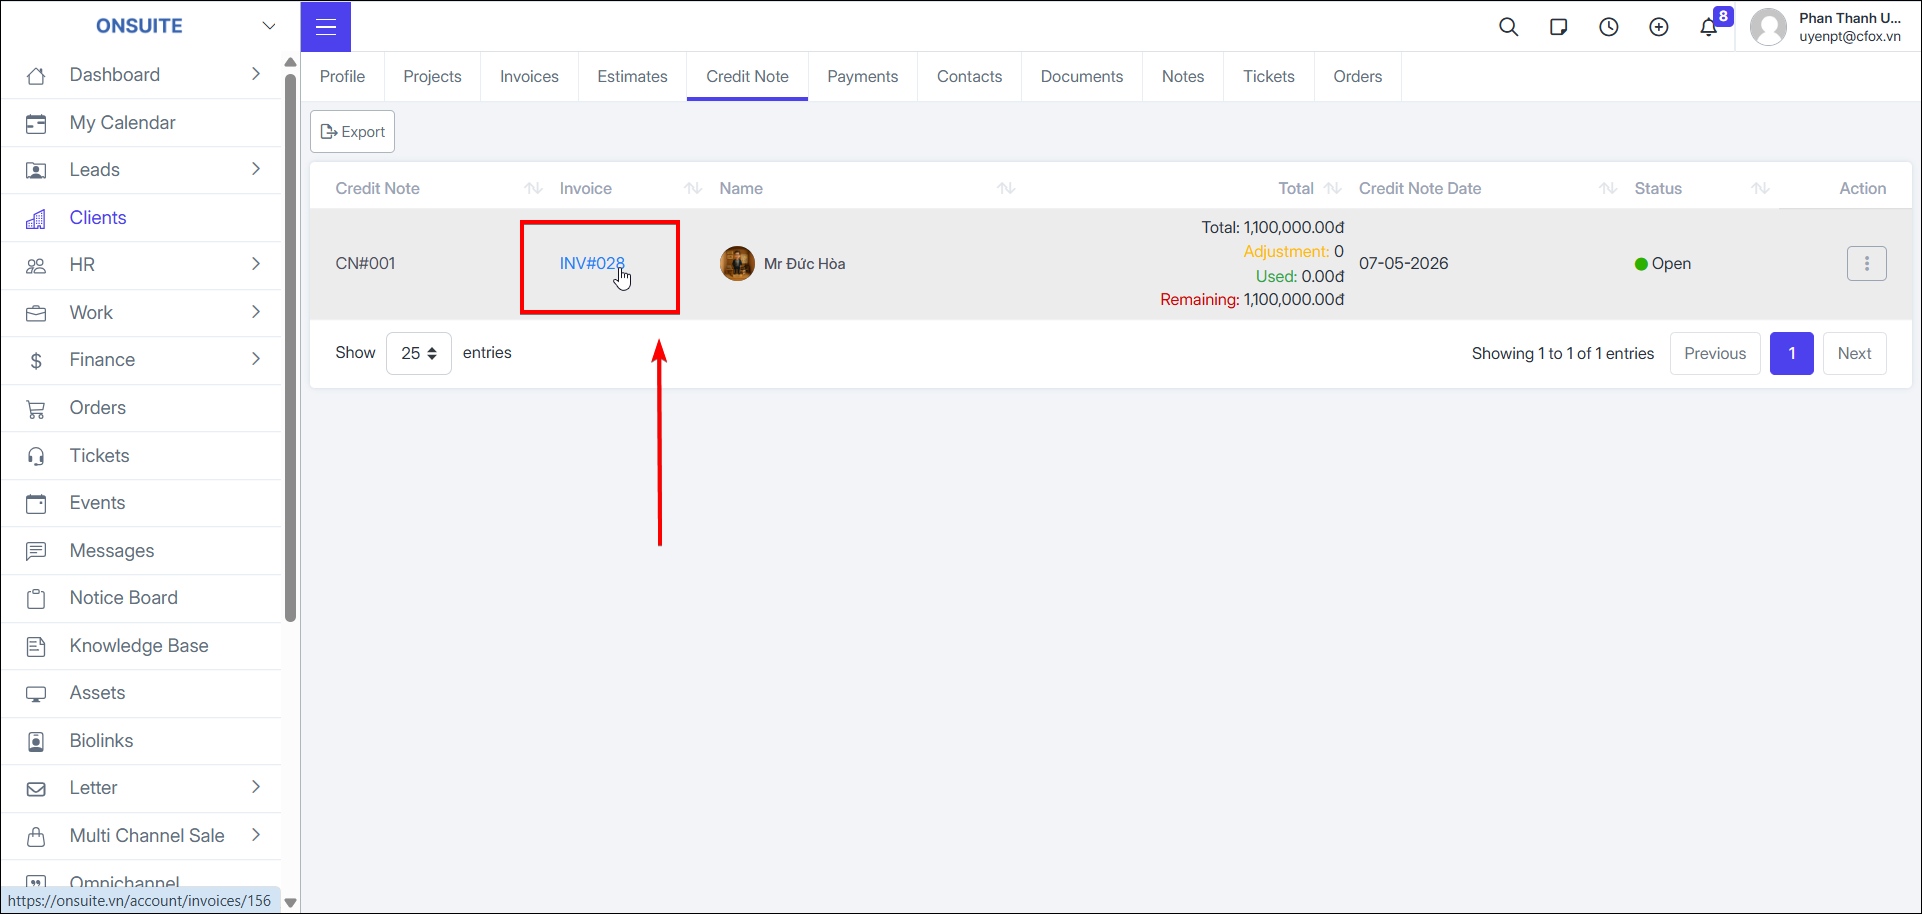
- Select to view credit note details corresponding to the issued invoice
-
Can perform Download / Edit / Upload document / Delete
-
Select to export to Excel
-
Payments
-
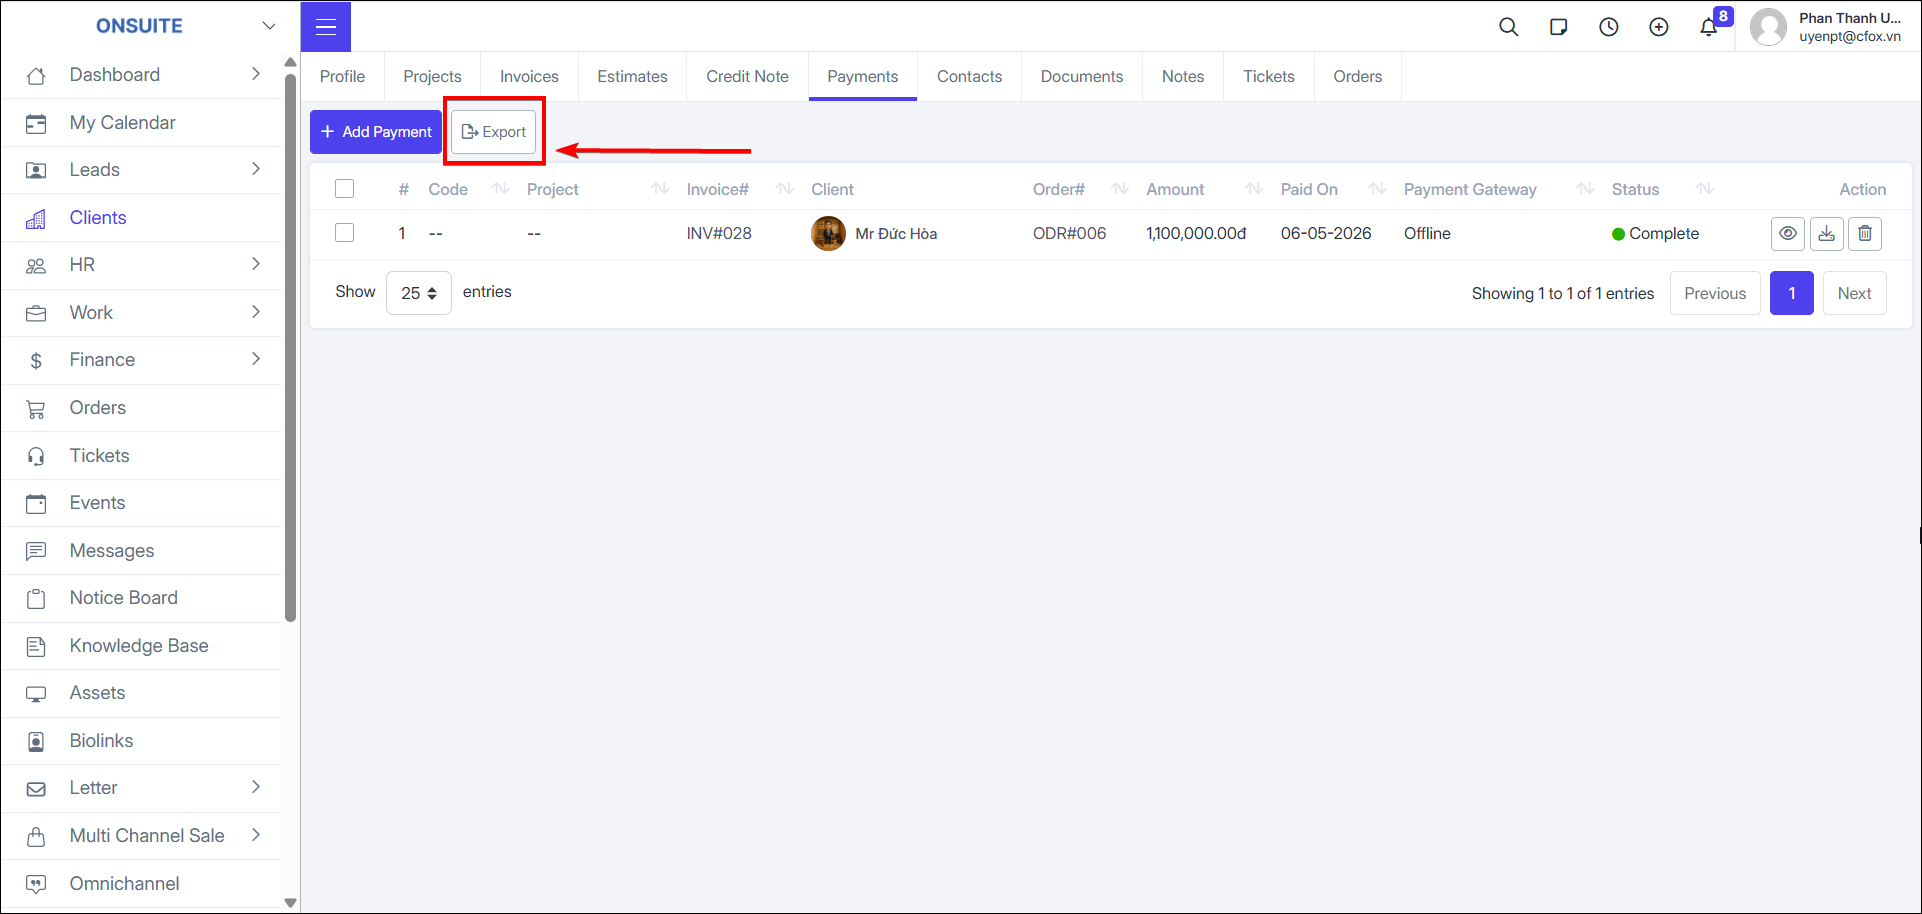
Go to Payments tab → View client payment history by invoice, order
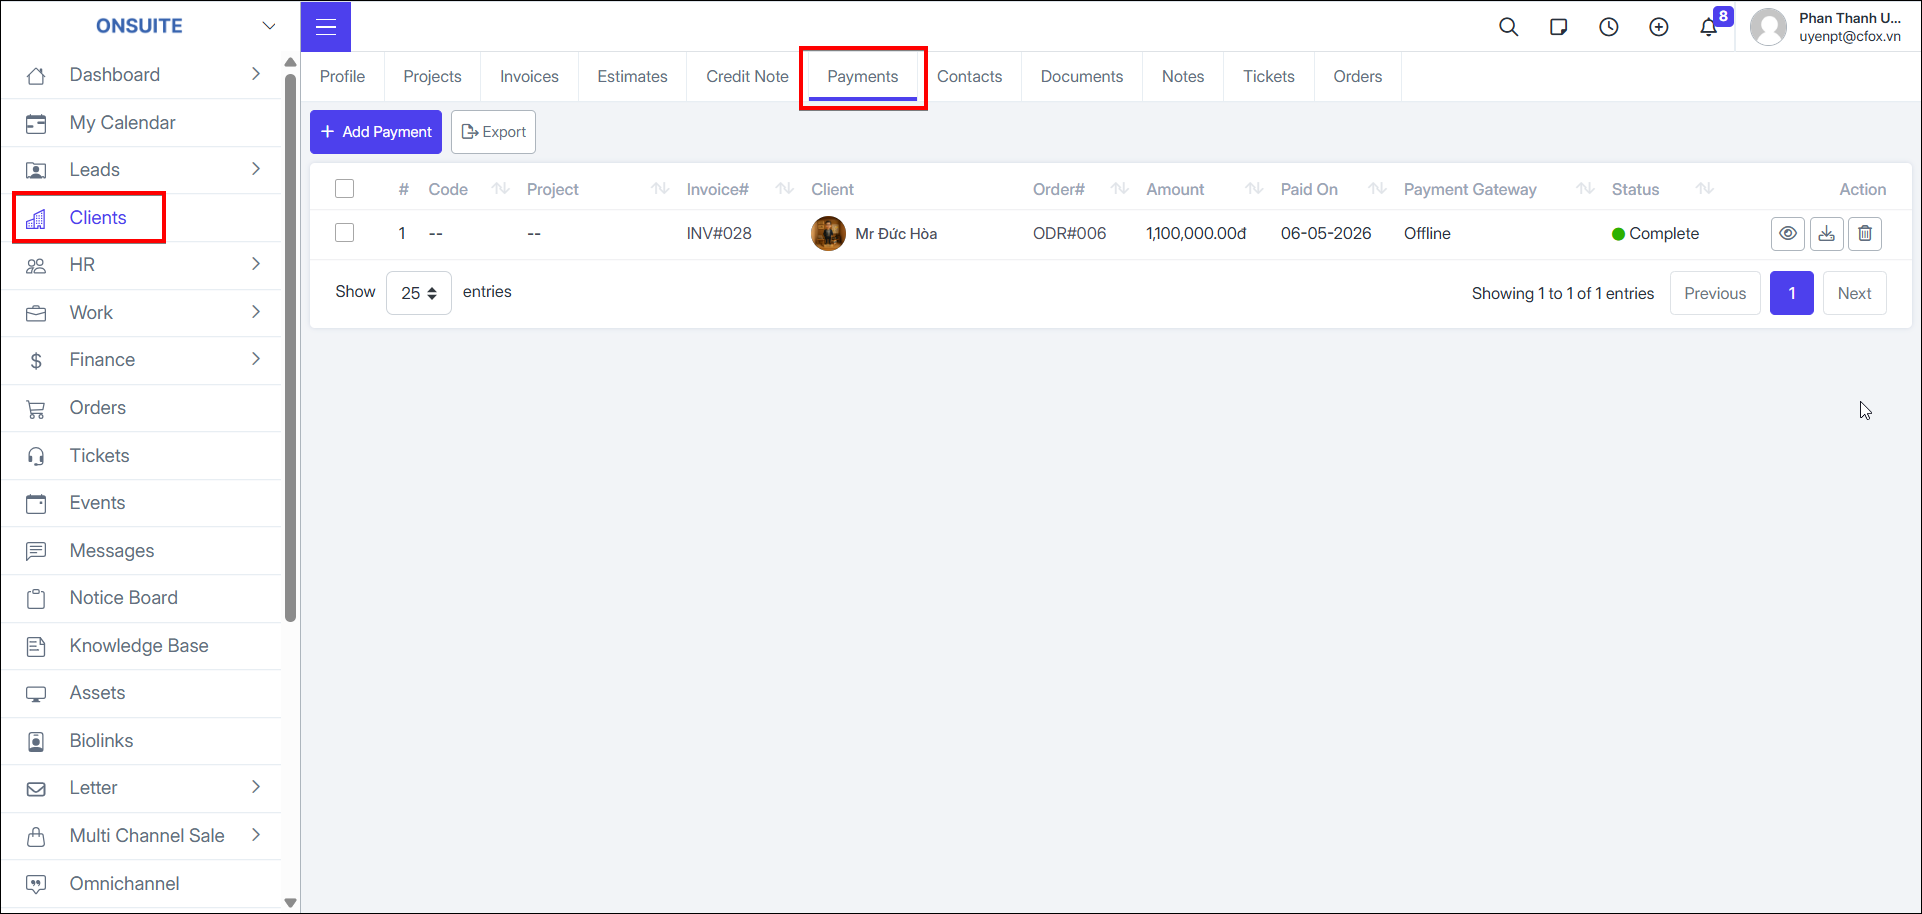
- For each payment transaction: view, download, delete
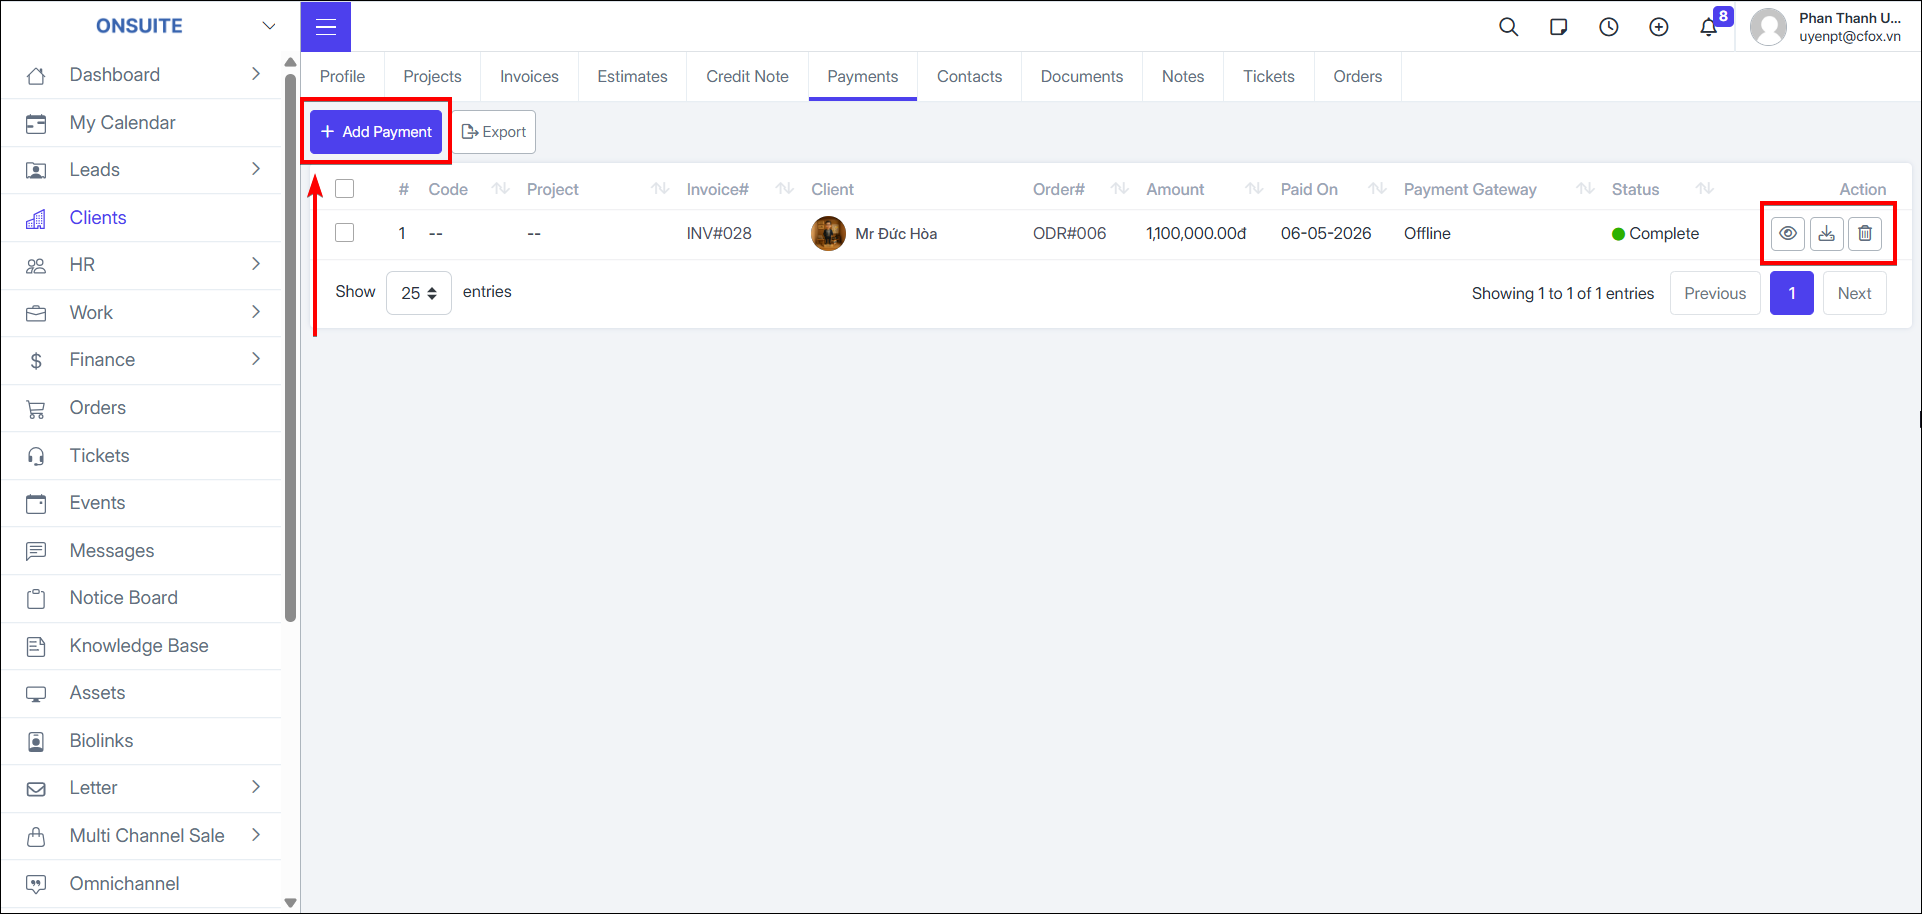
- Select Add Payment → In the invoice selection: system automatically retrieves that client's invoices → Save to complete payment
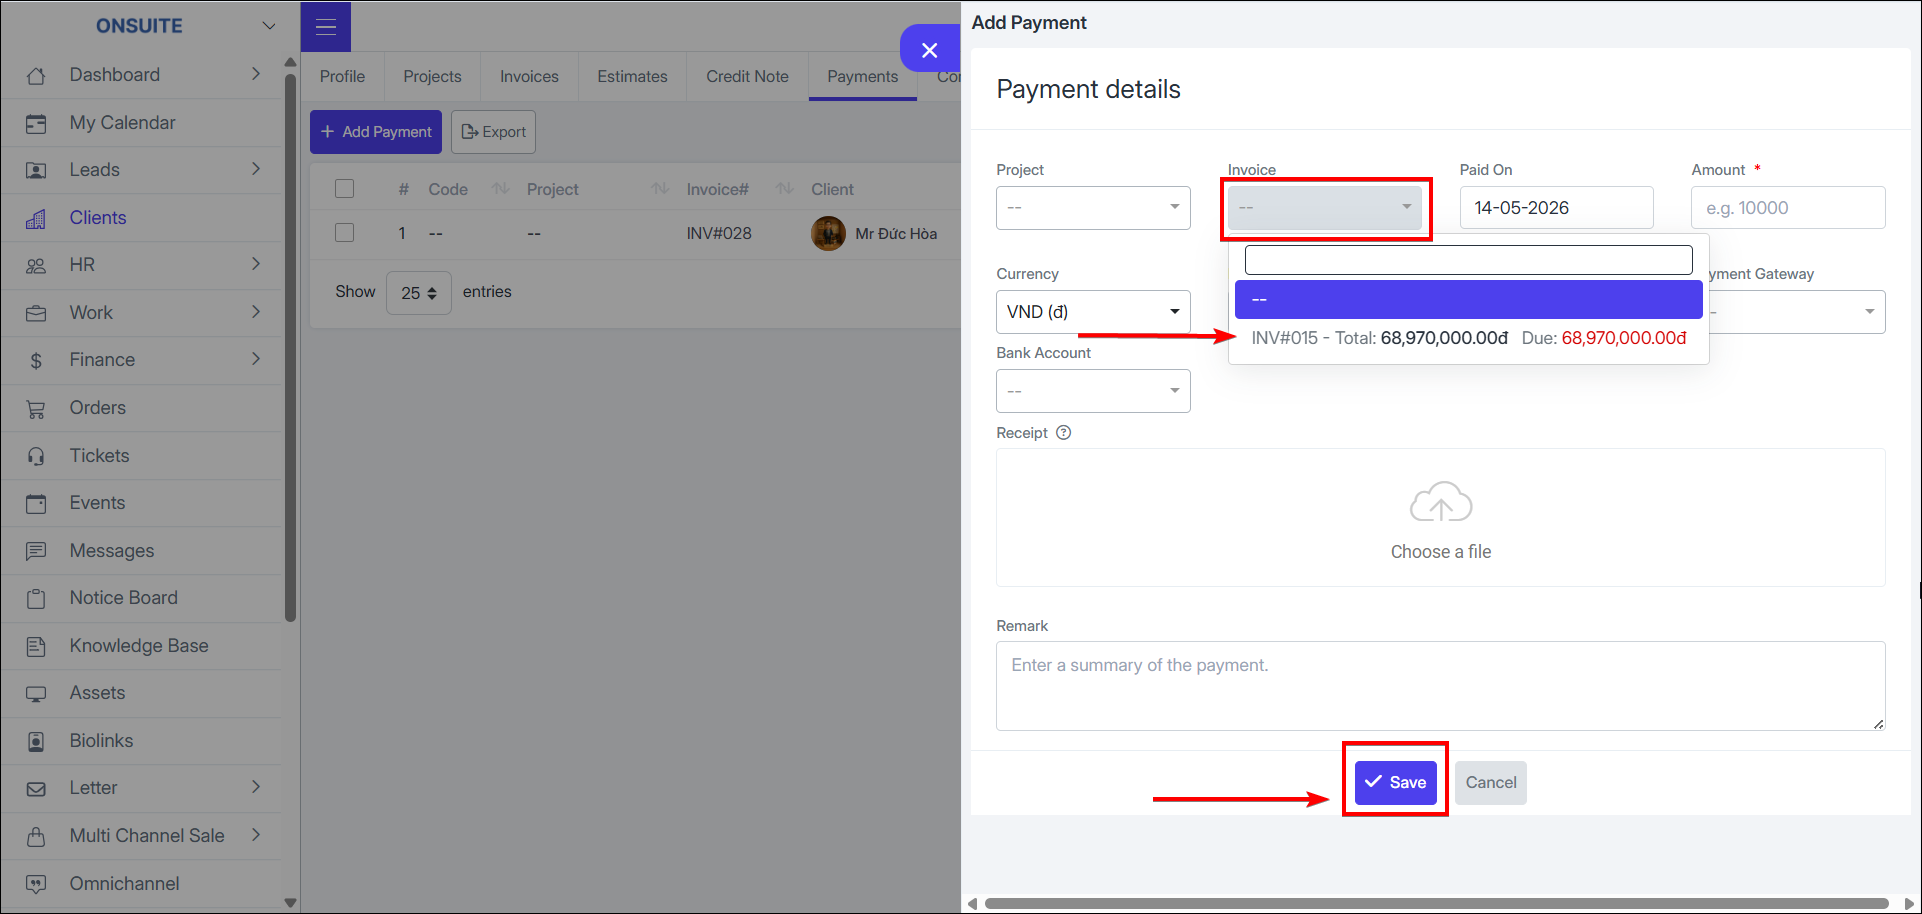
- Select to export to Excel
-
Contacts
-
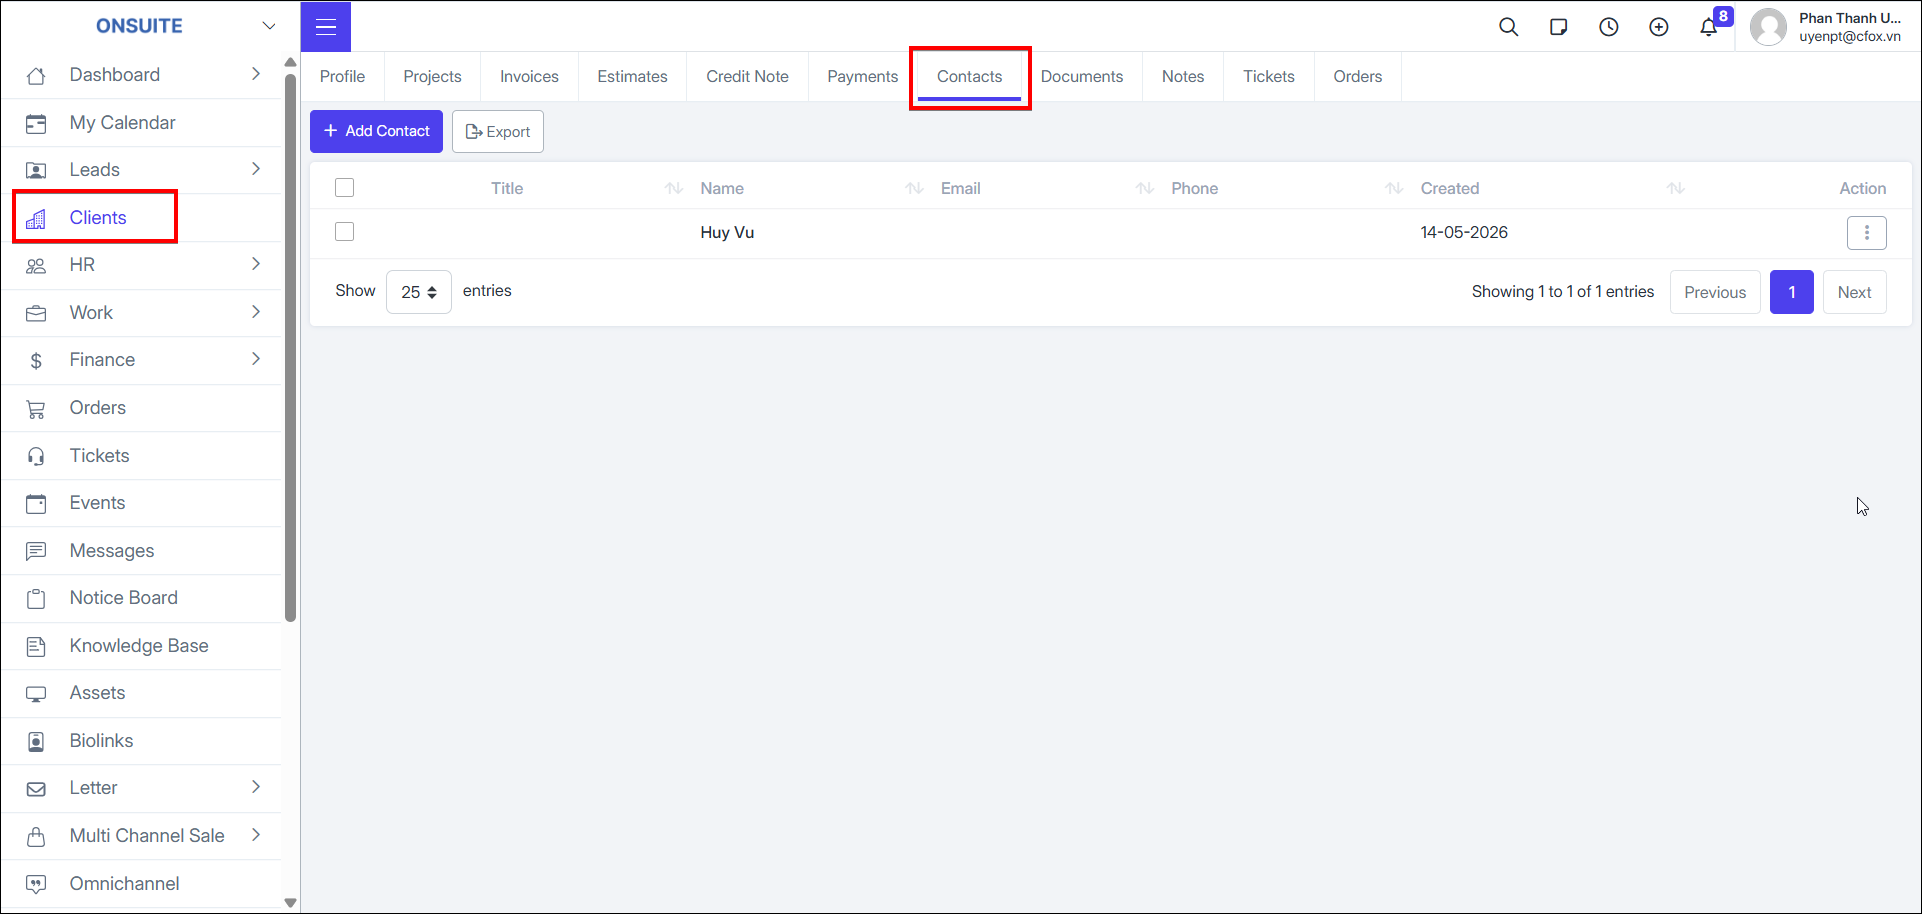
Go to Contacts tab → View client contact information
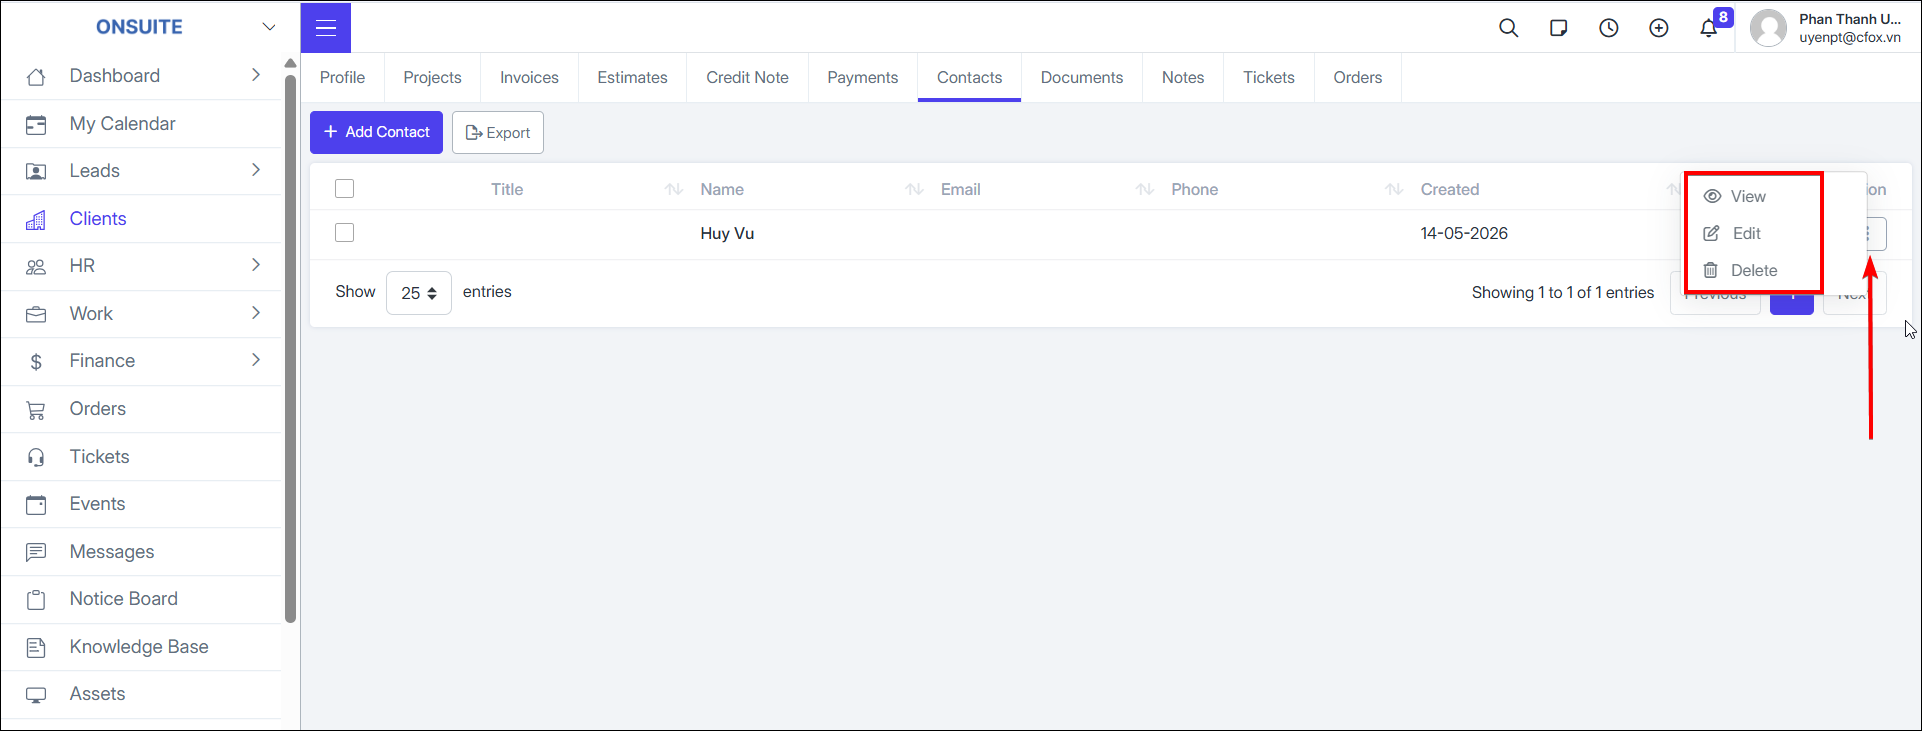
- Can View / Edit / Delete
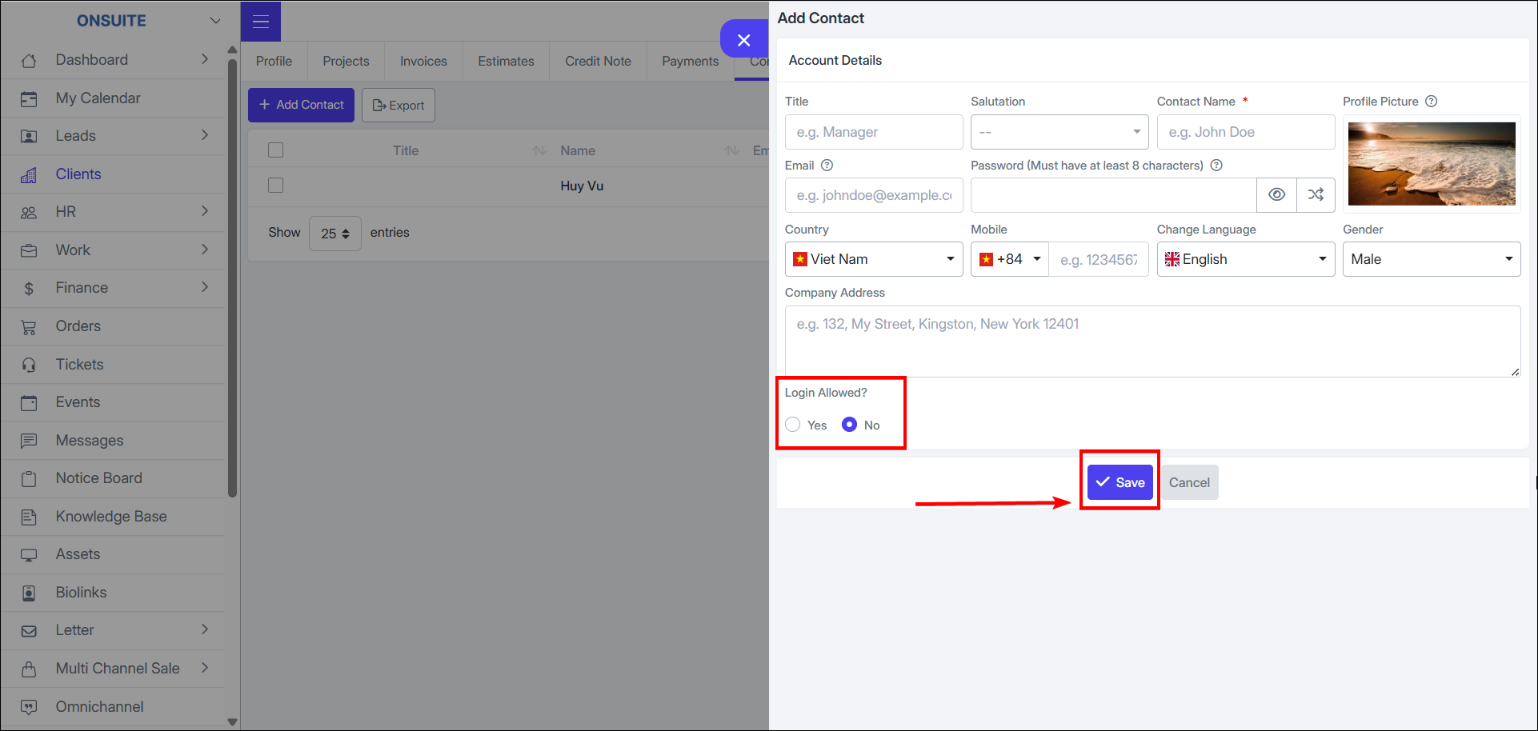
- Select Add Contact → Enter contact information. Choose whether to allow this contact to log into the system → Save to complete
-
Documents
-
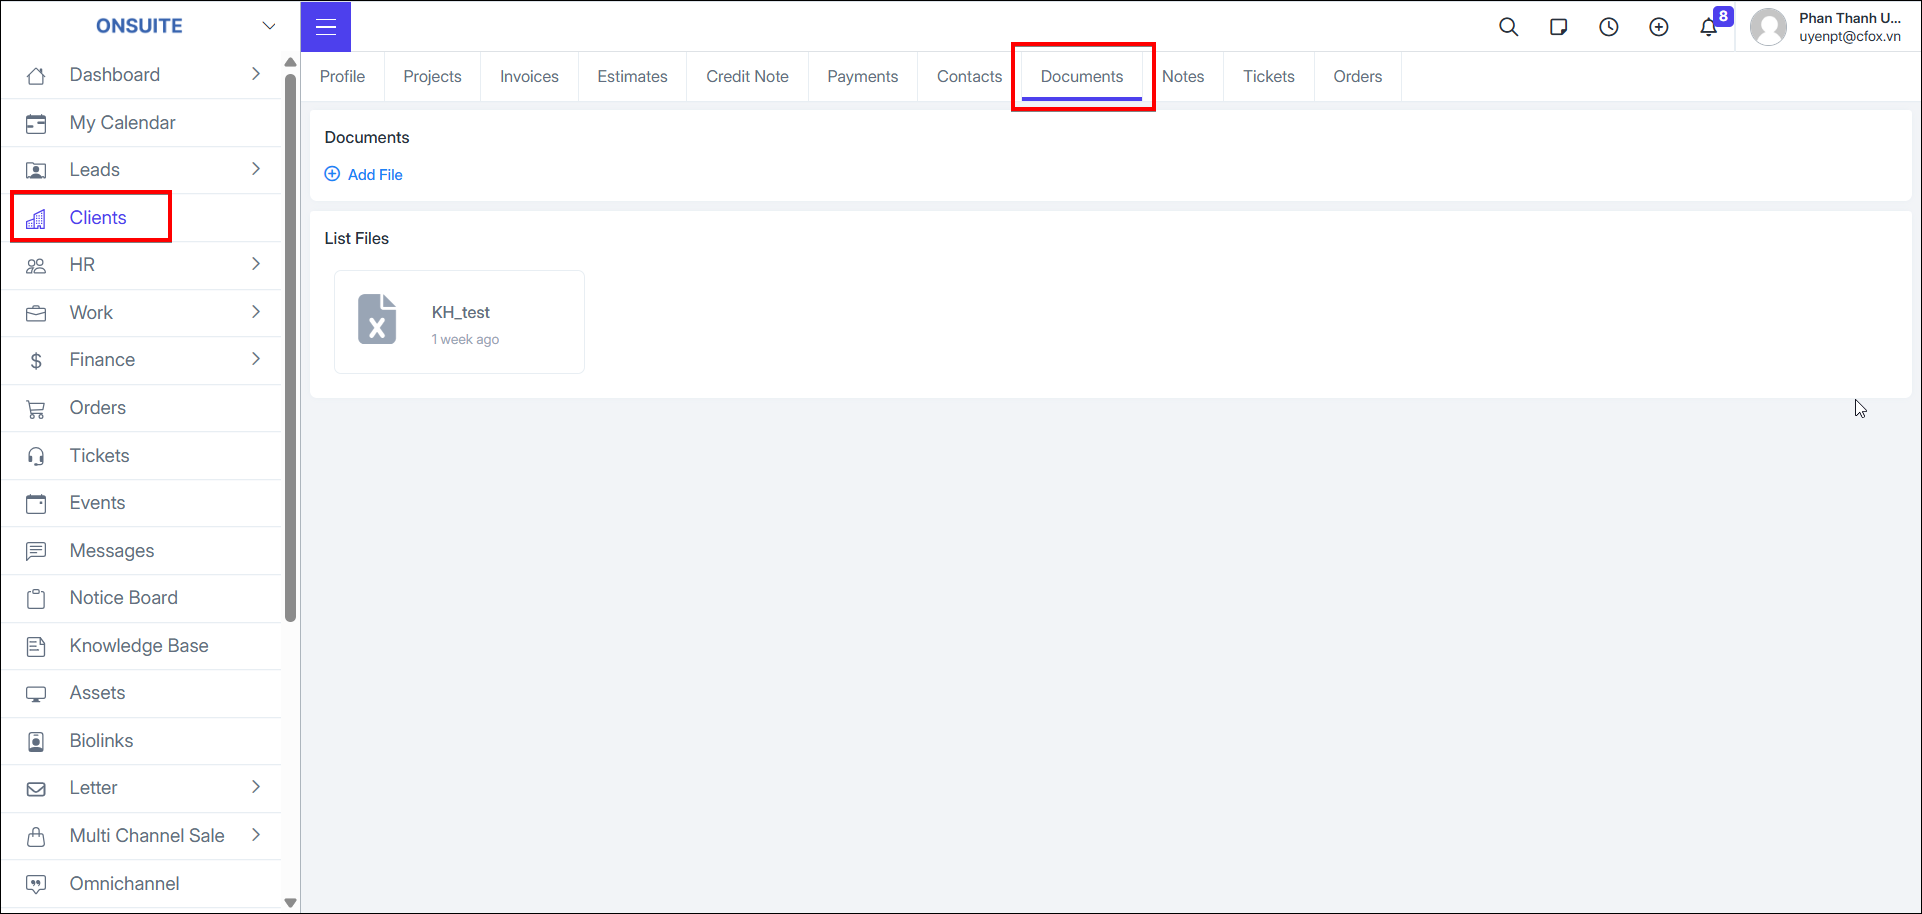
Go to Documents tab → Manage documents related to the Client
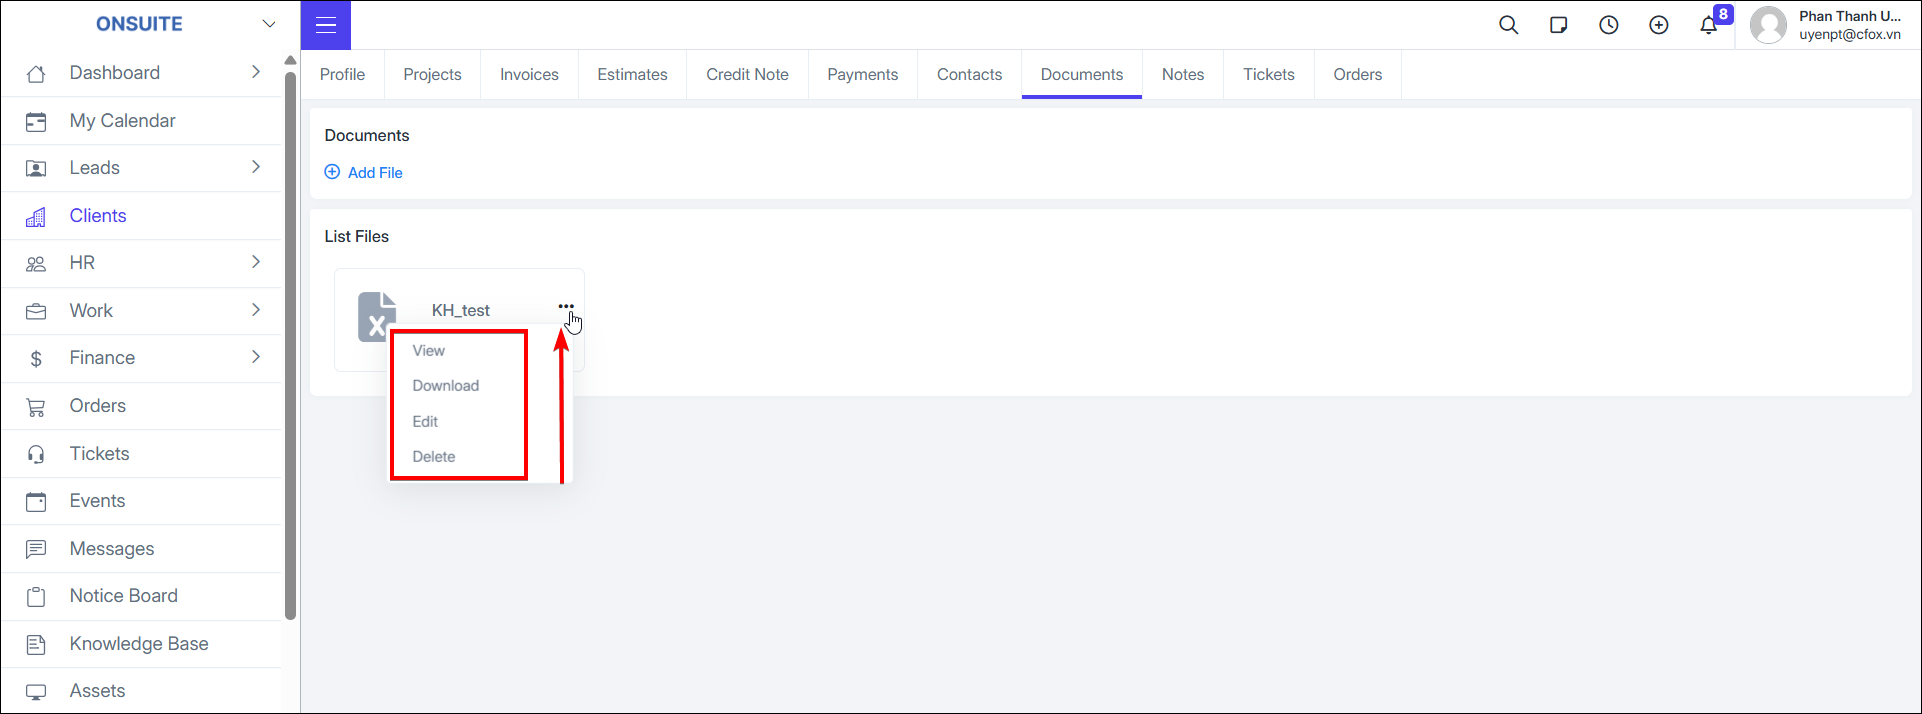
- Can View / Edit / Delete documents
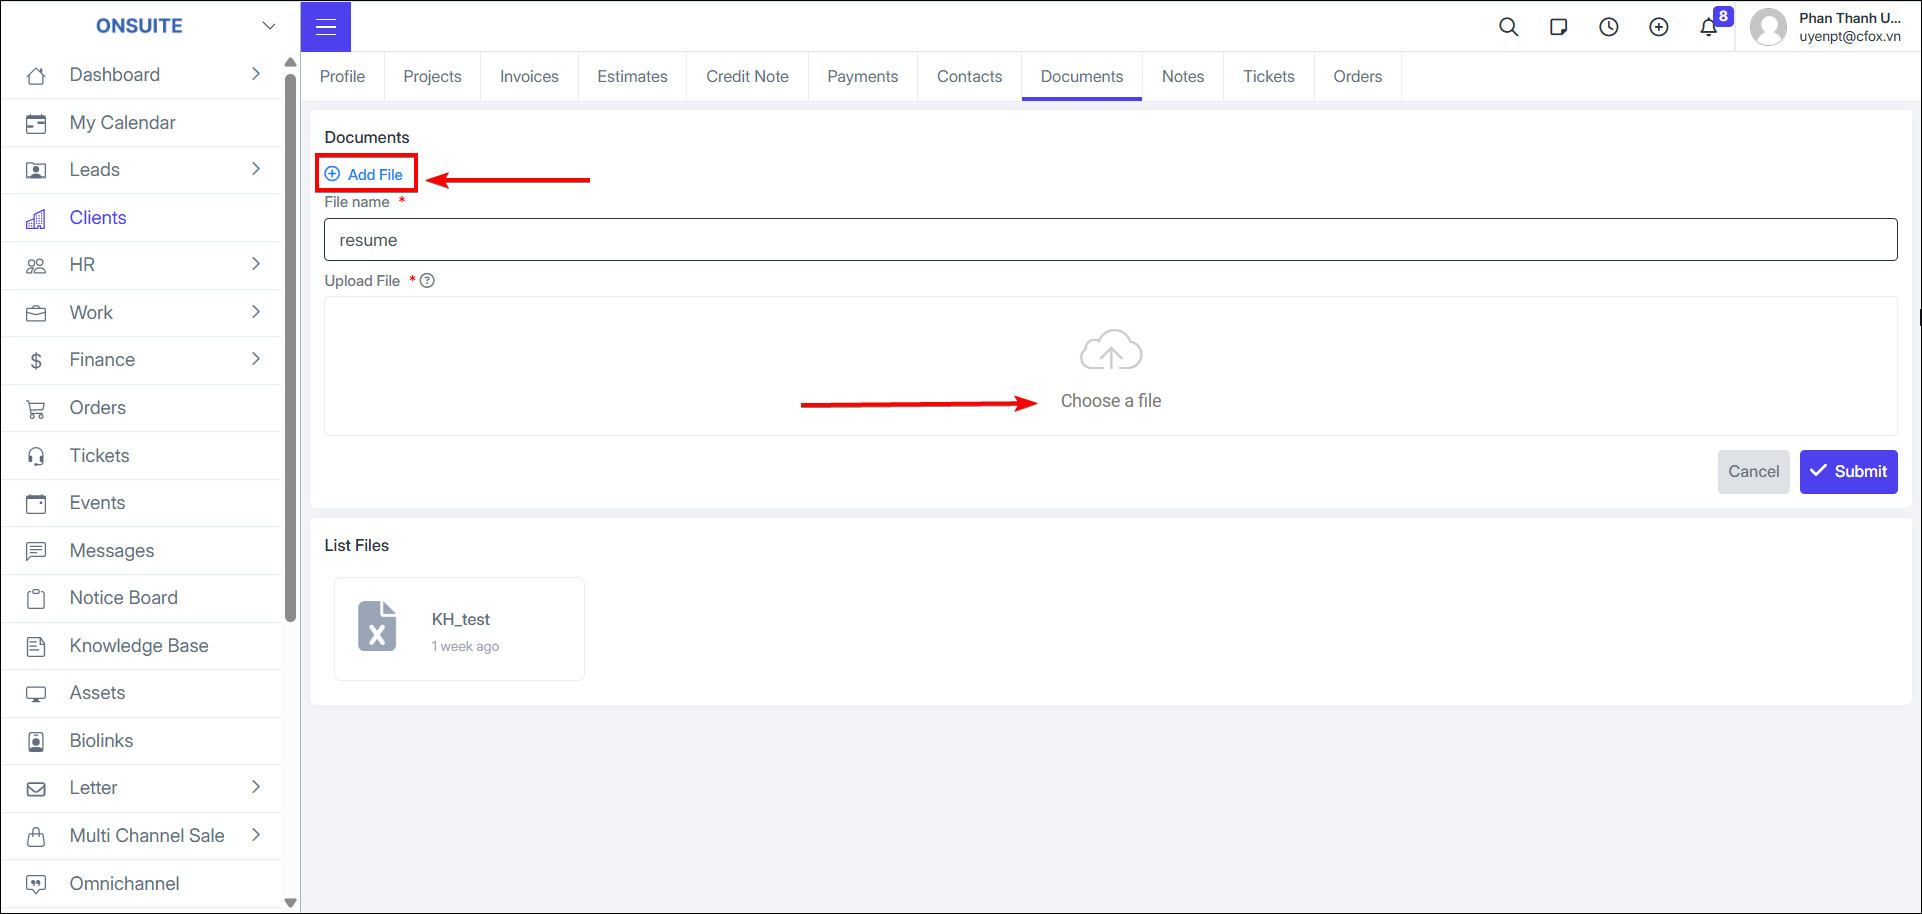
- Select Add File → Enter name and upload client document → Send to complete
-
Notes
-
Go to Notes tab → Manage notes for the client
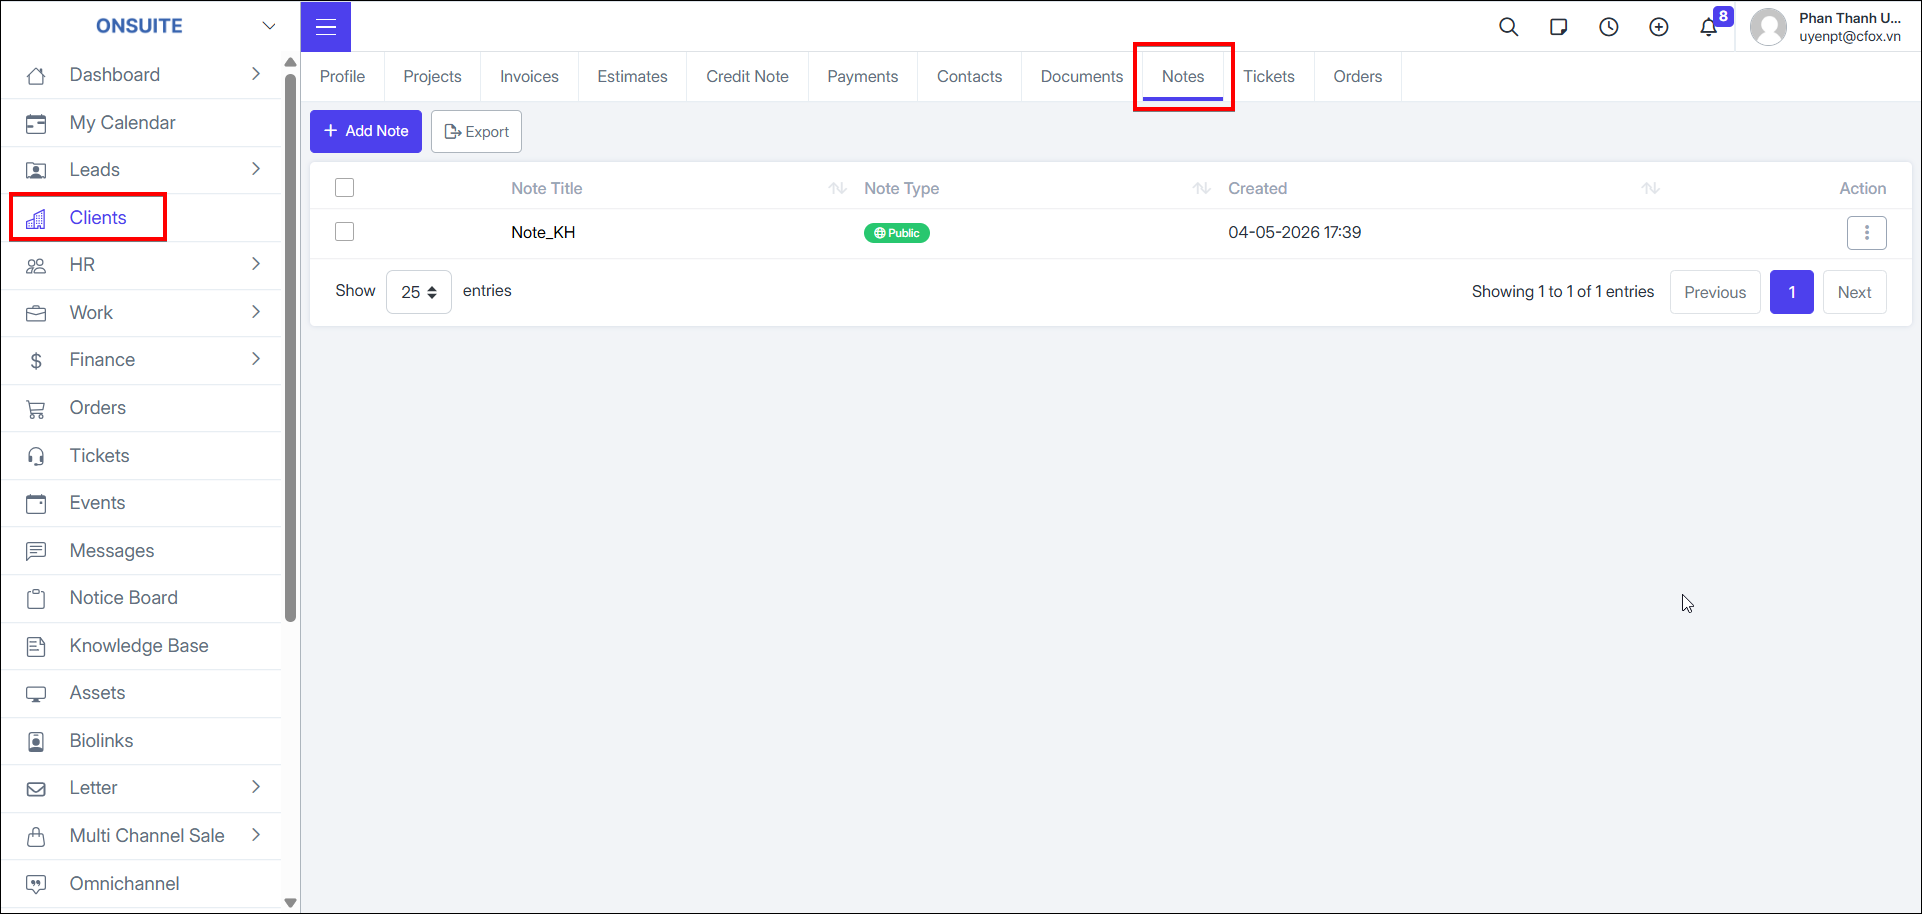
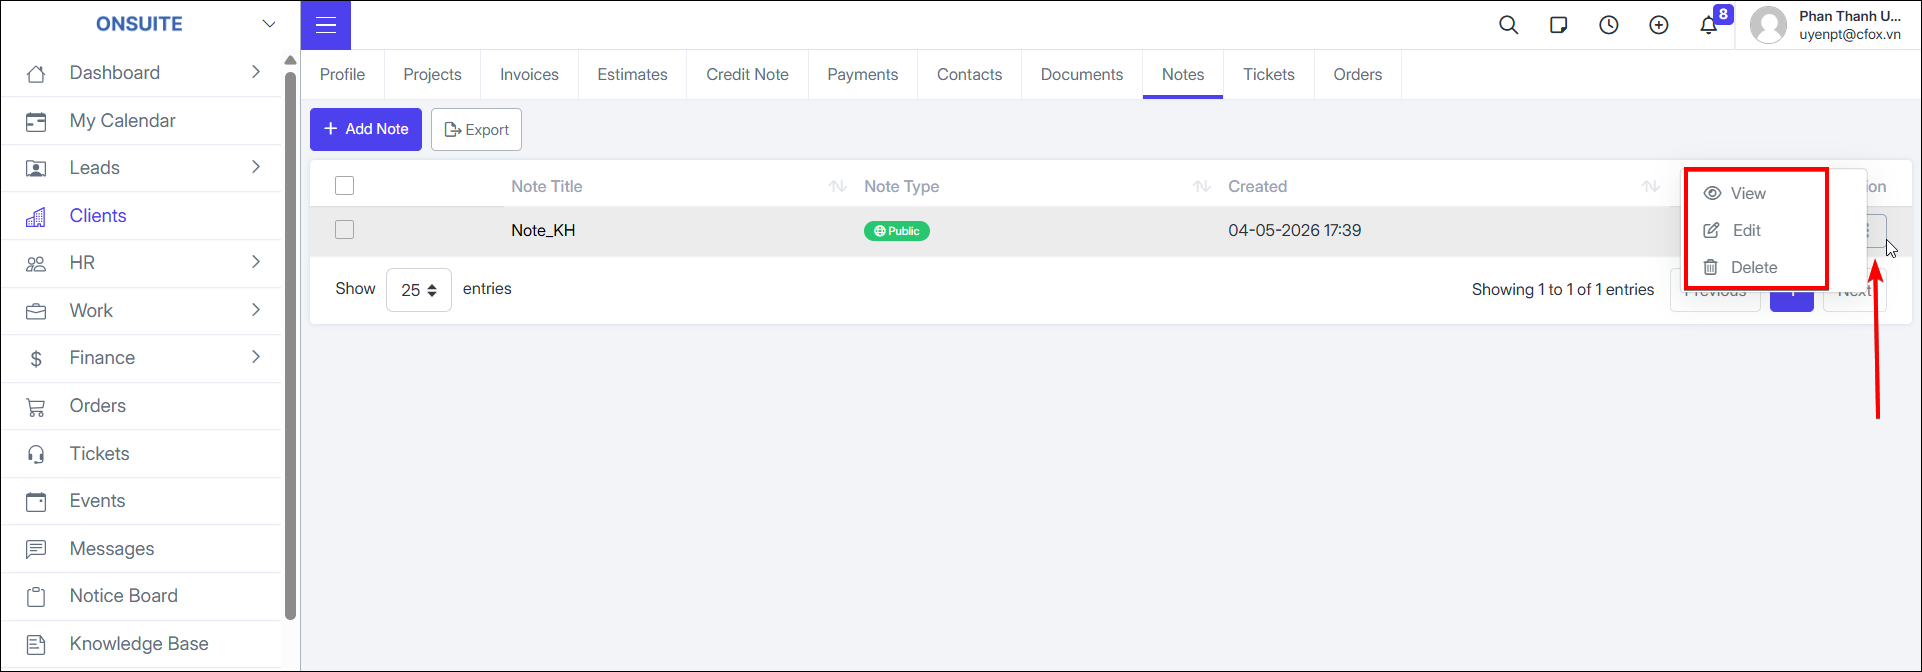
- Can View / Edit / Delete notes
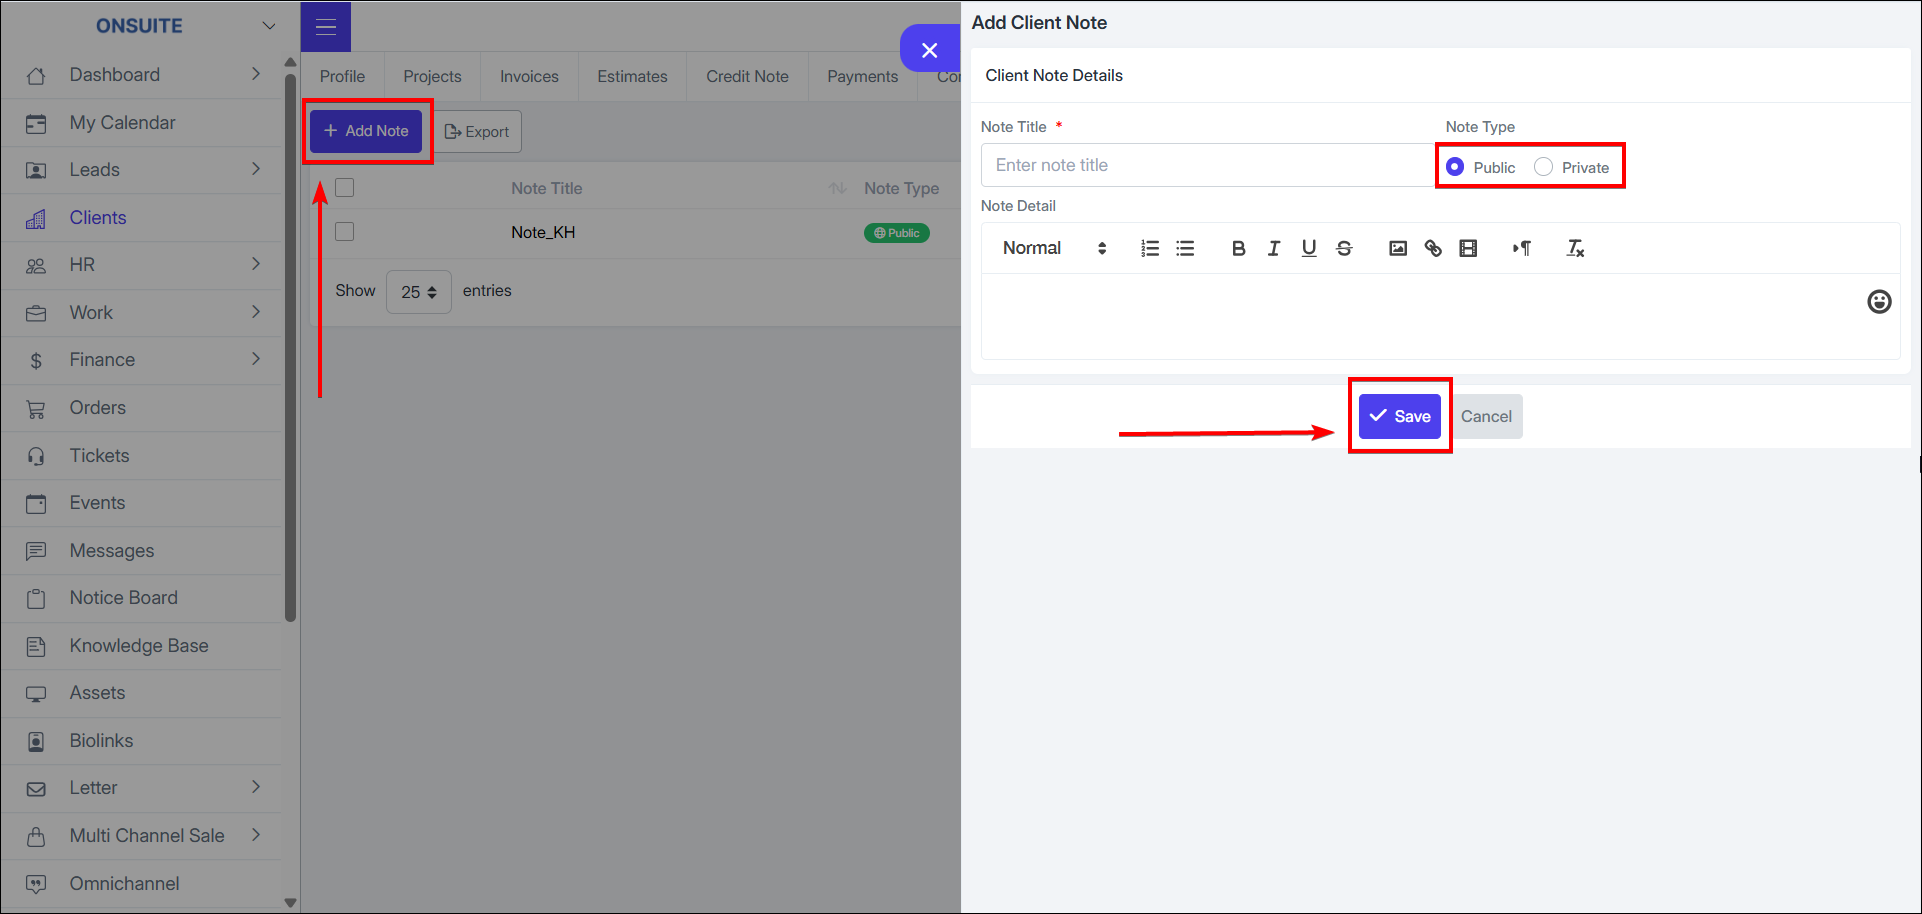
- Select Add Note → Enter title → Select display type public/private → enter note → save to complete
-
Tickets
-
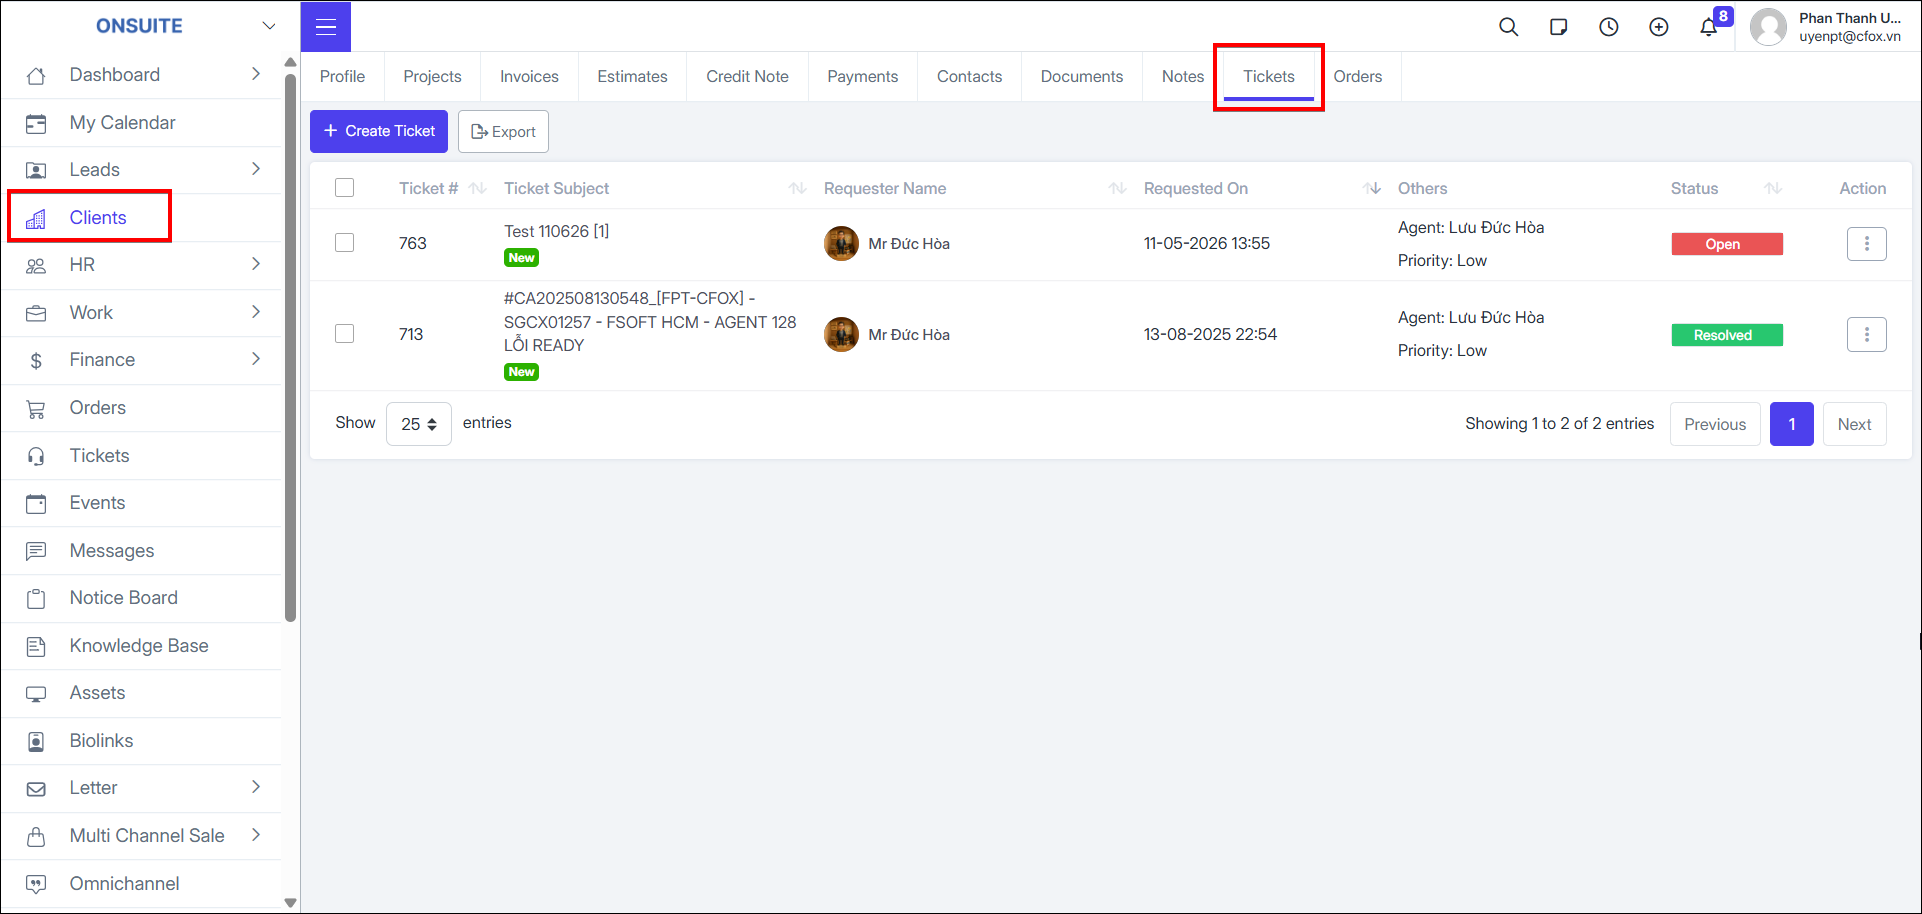
Go to Tickets tab → Manage client tickets
-
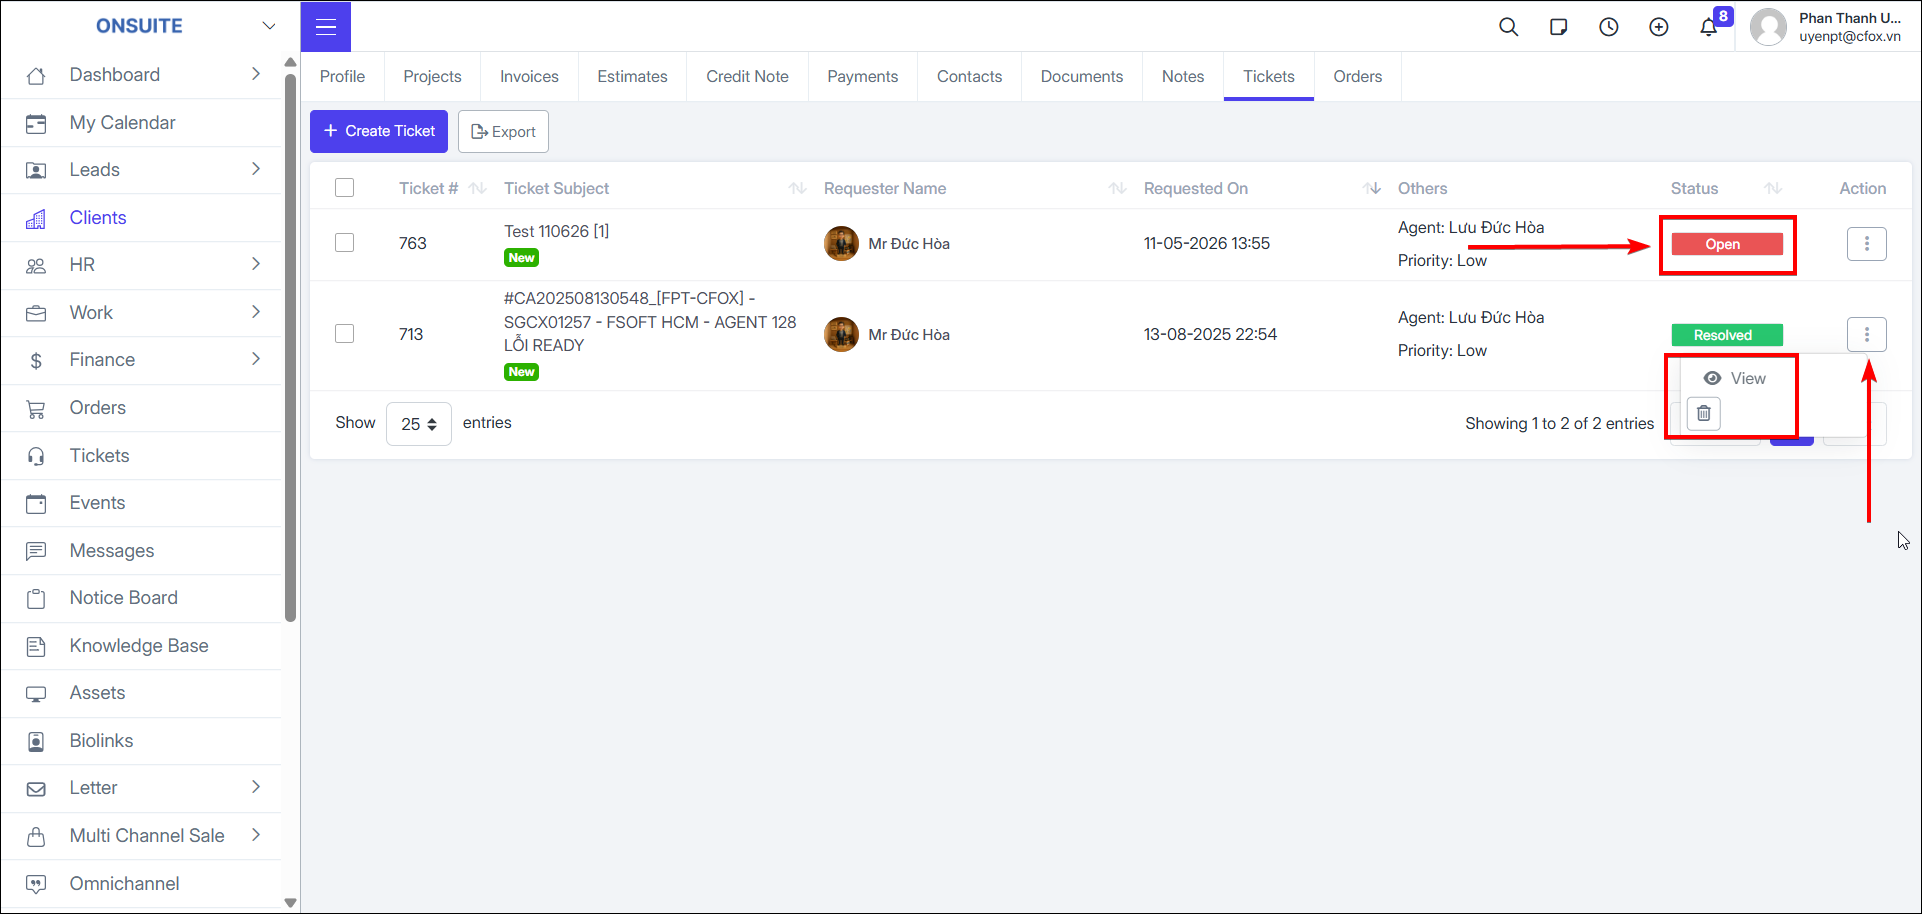
Can View / Delete tickets
-
Select ticket status
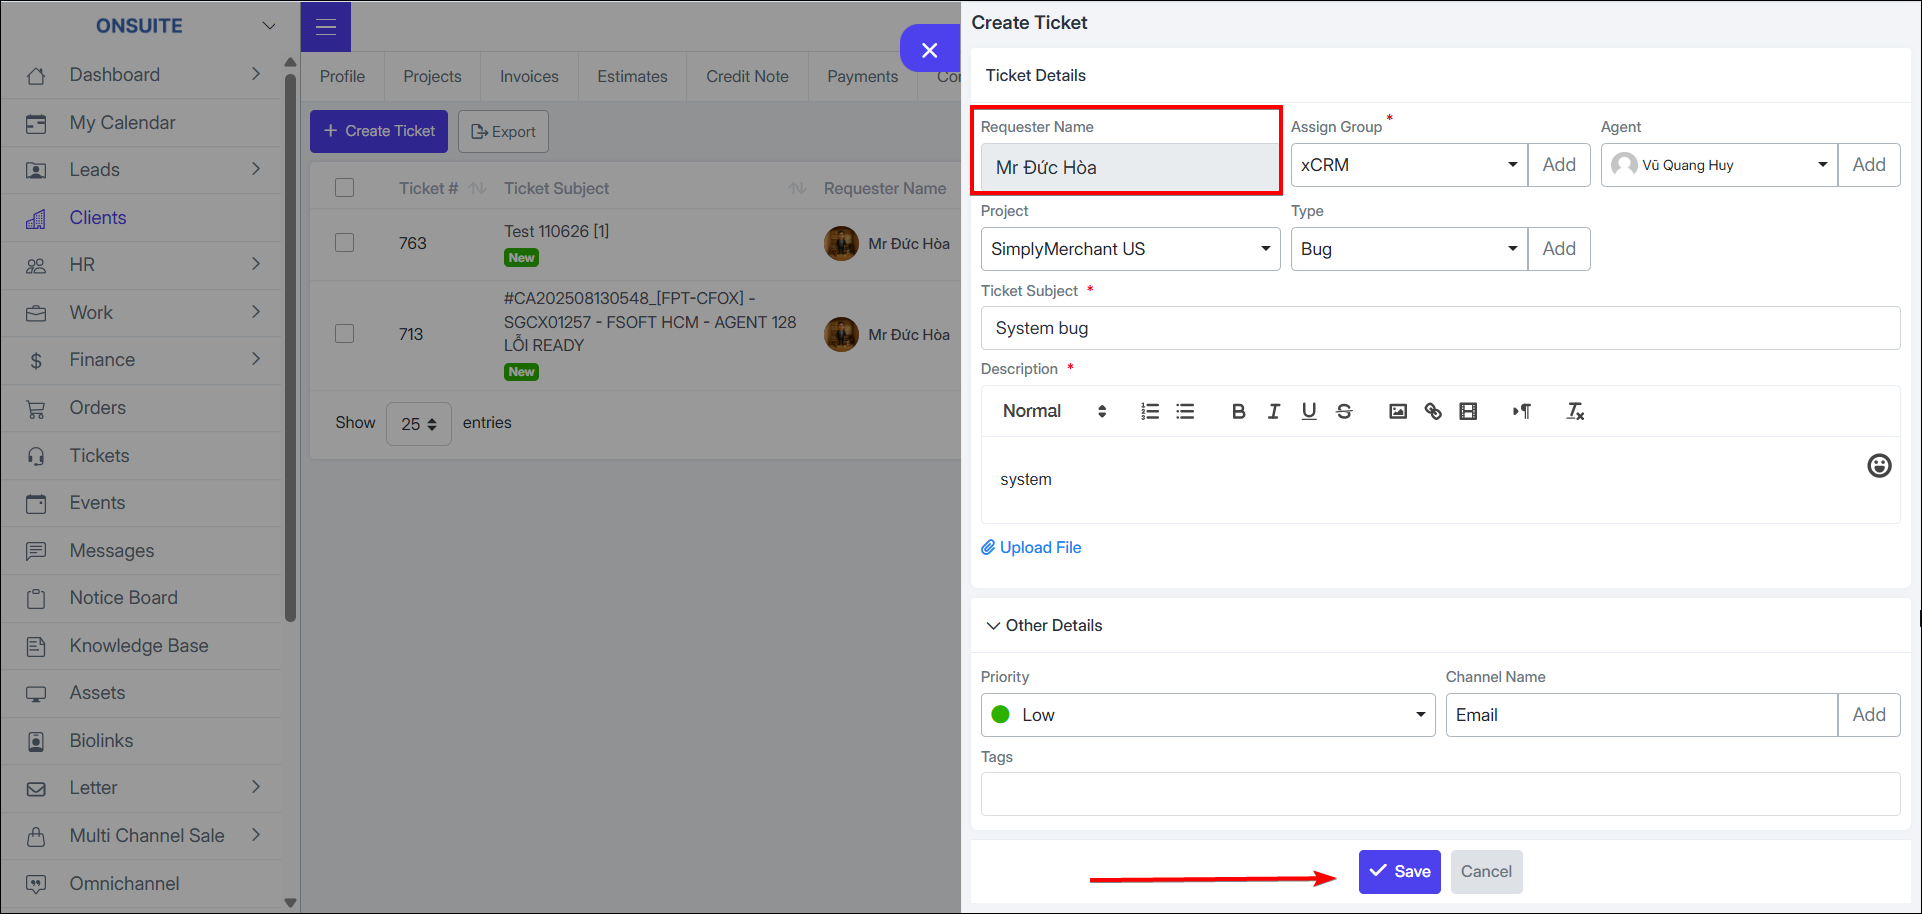
- Select Create Ticket → System automatically sets the requester as the client → Enter ticket details → Save to complete
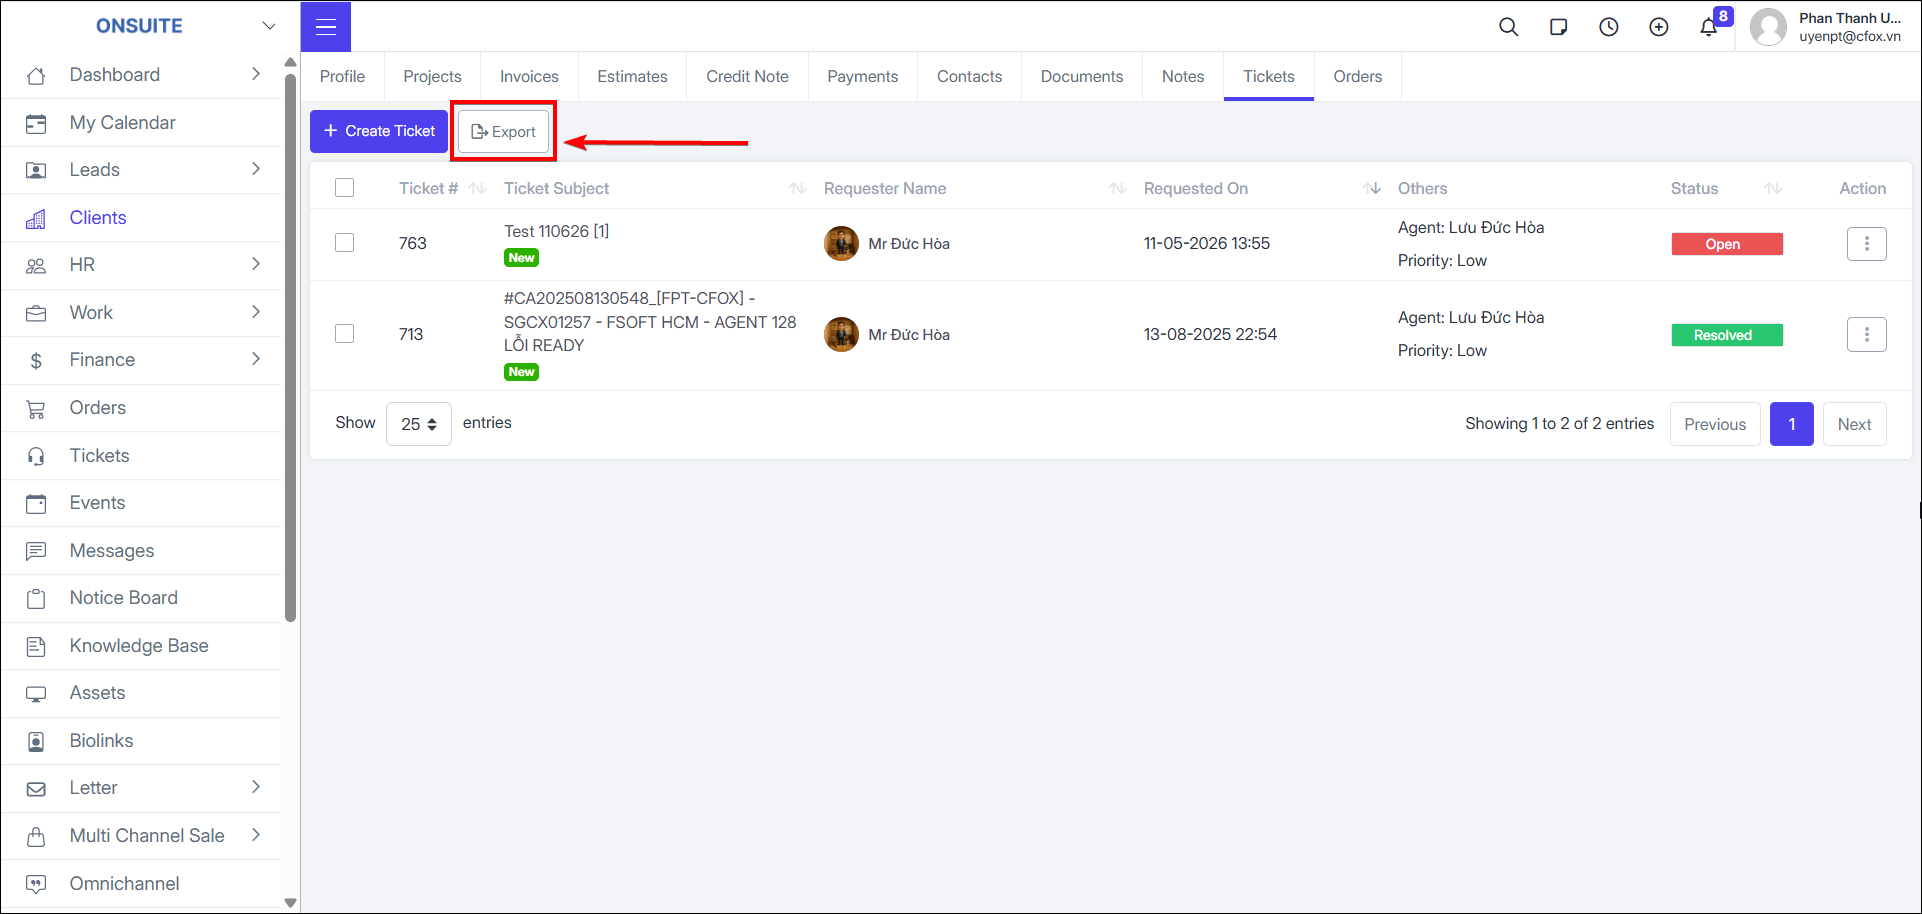
- Select to export to Excel
-
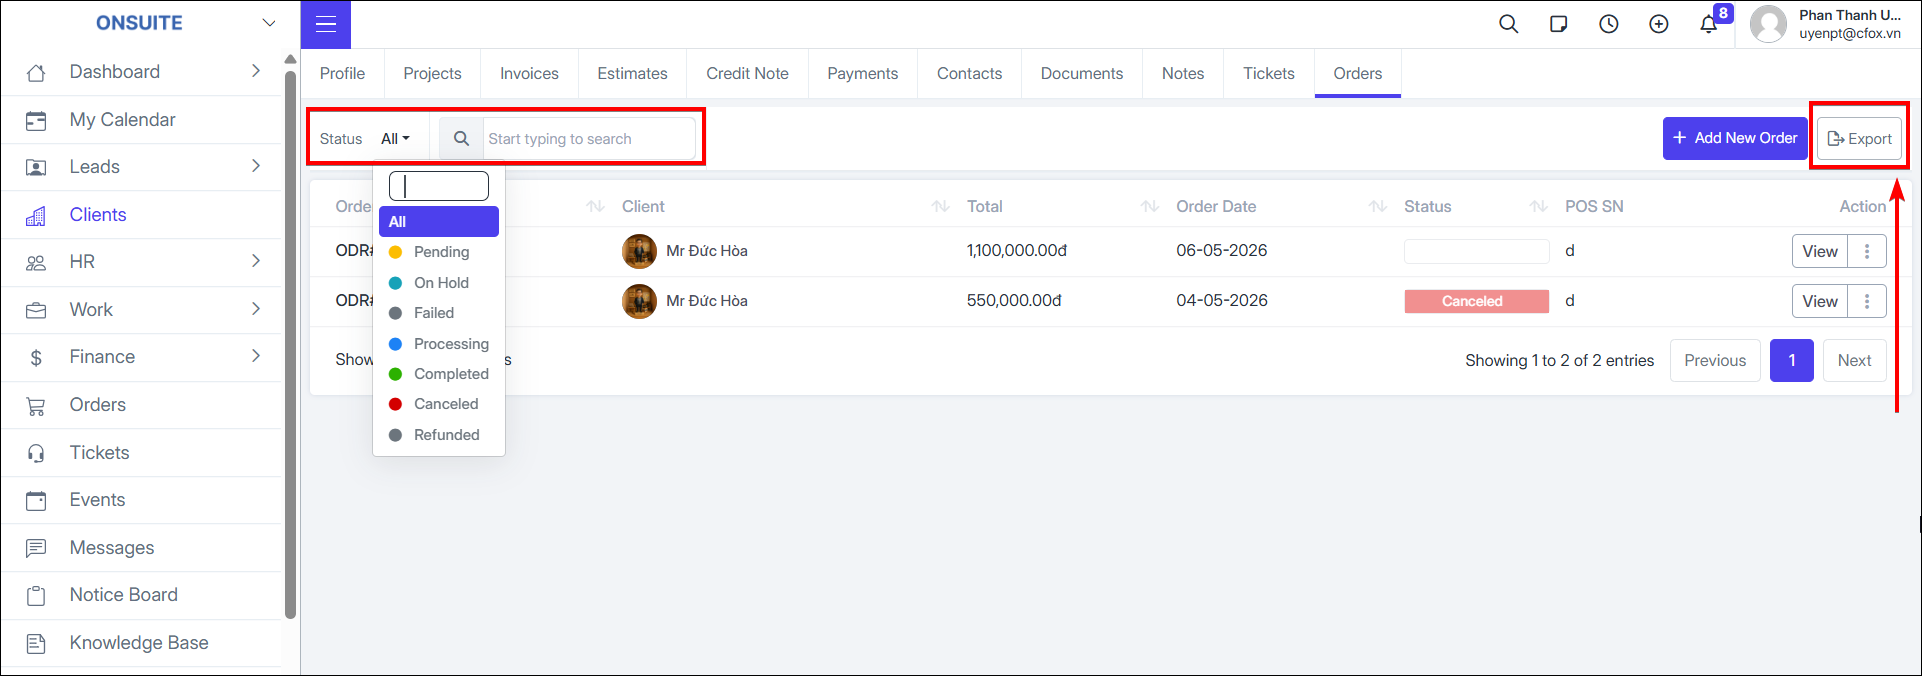
Orders
-
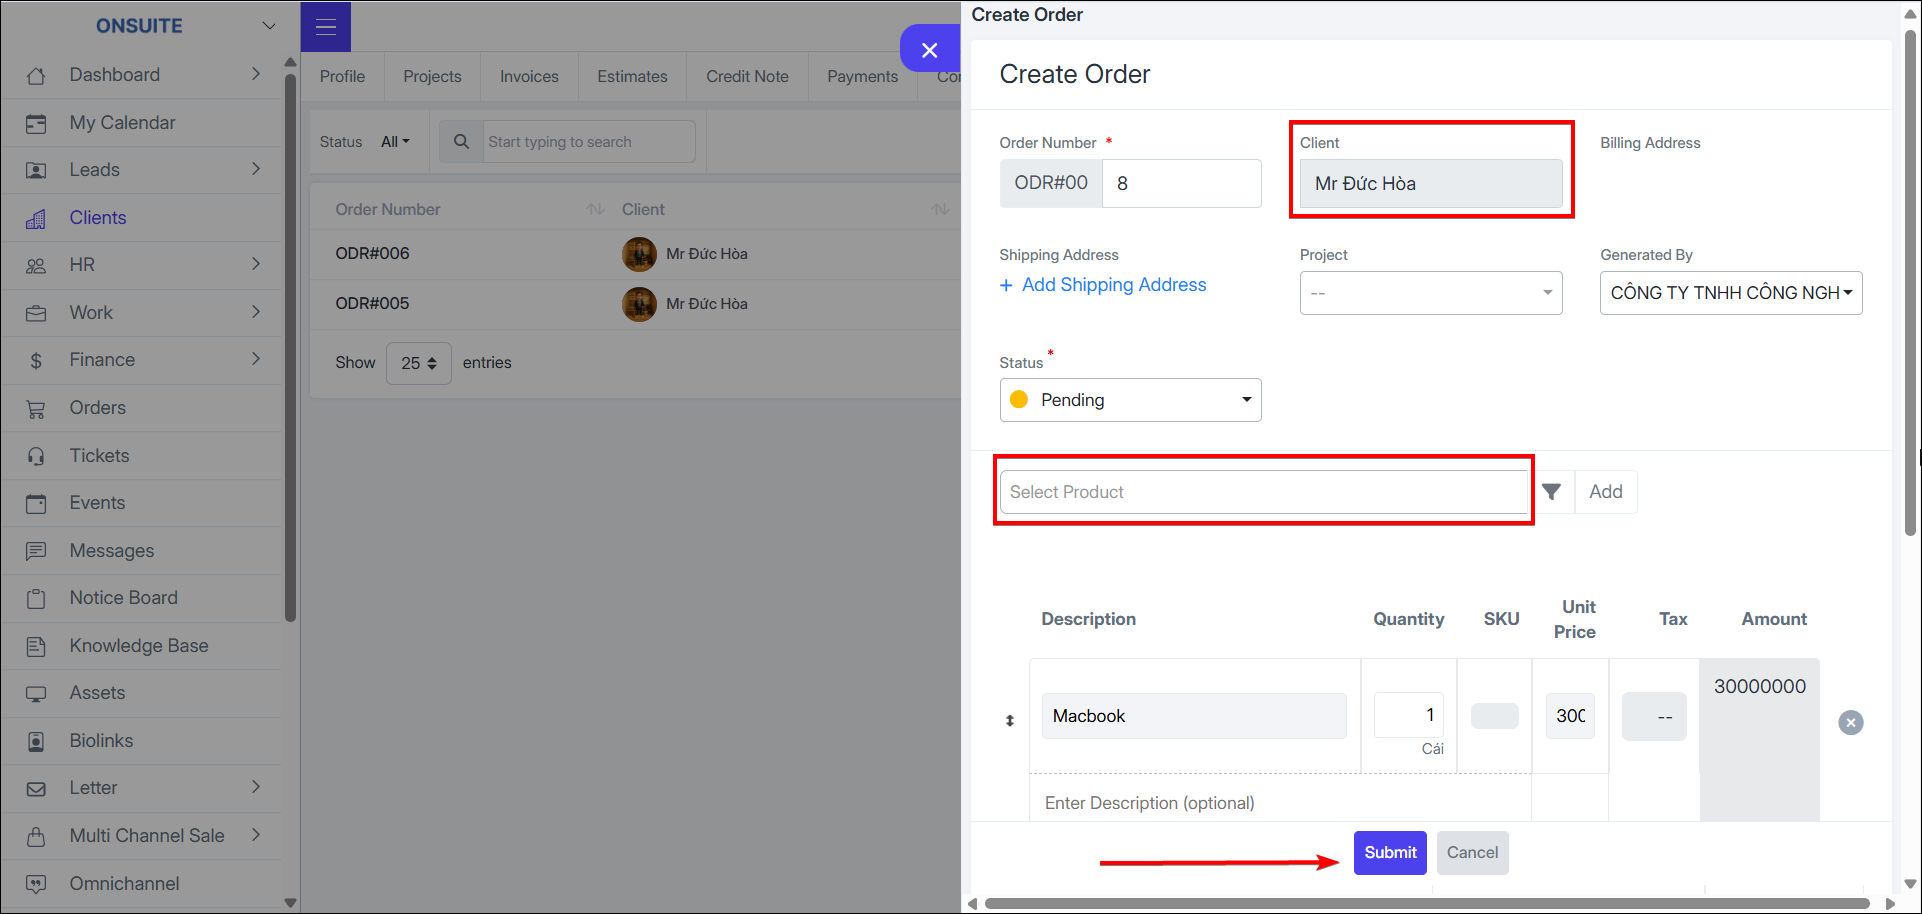
Go to Orders tab → Manage client orders
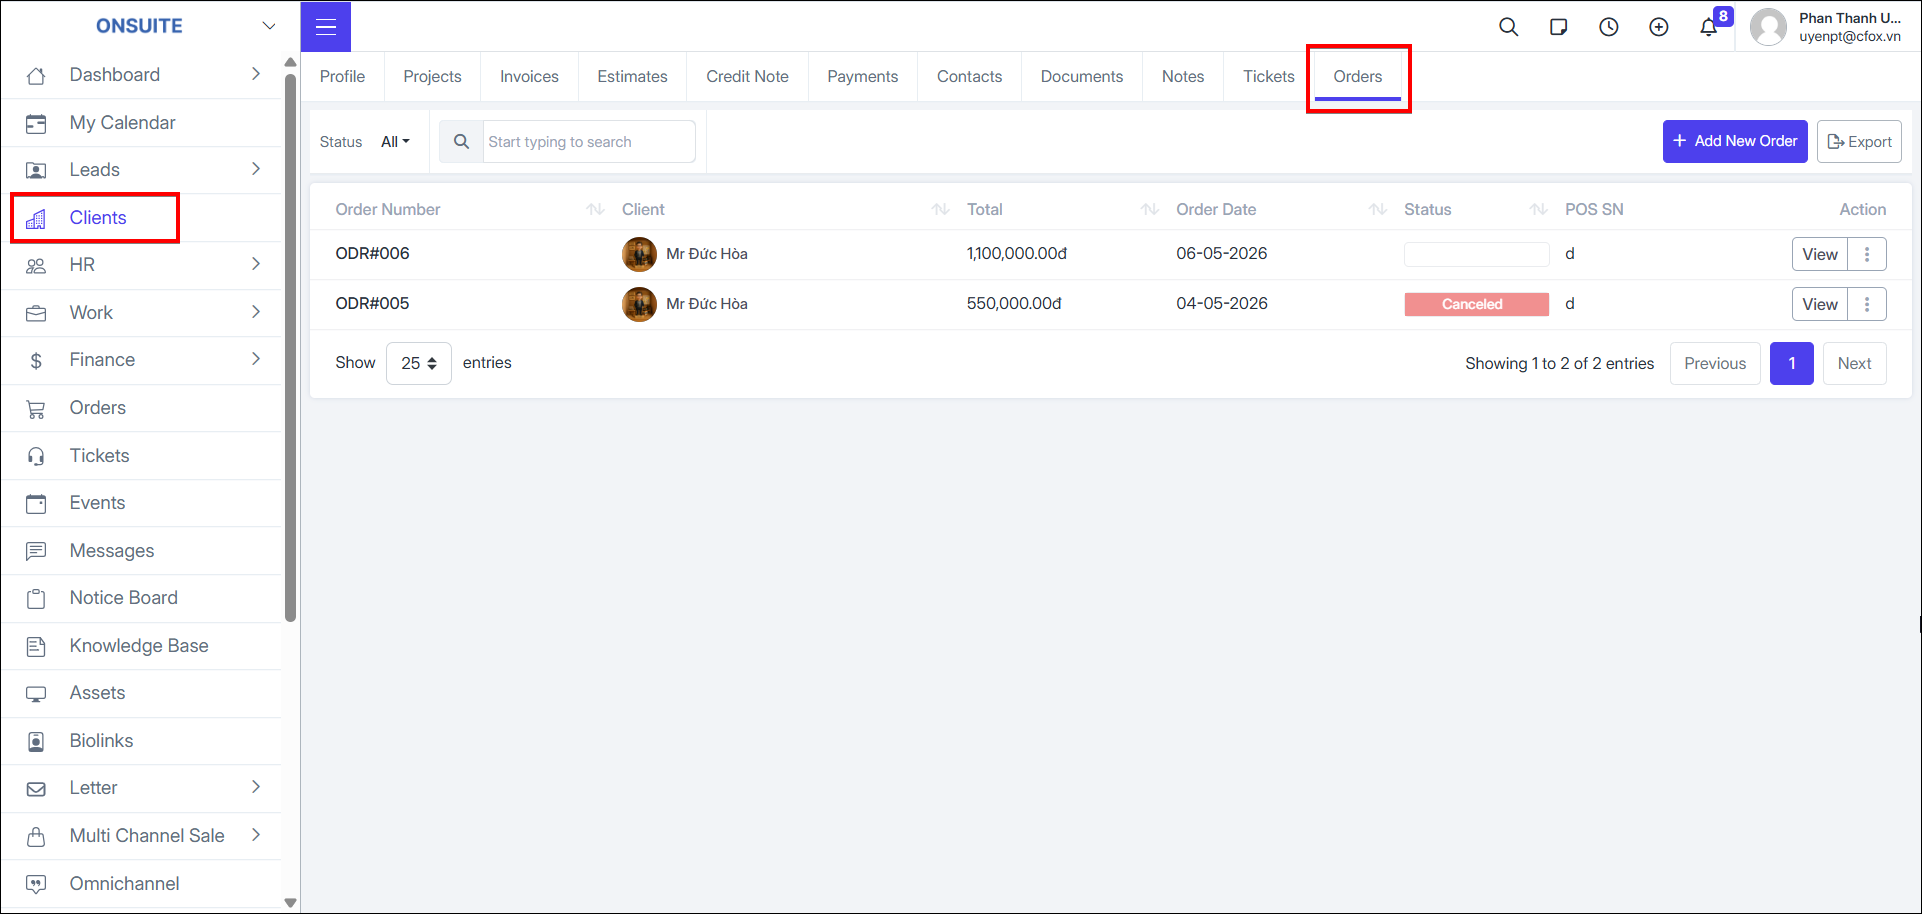
- Can View / Download orders
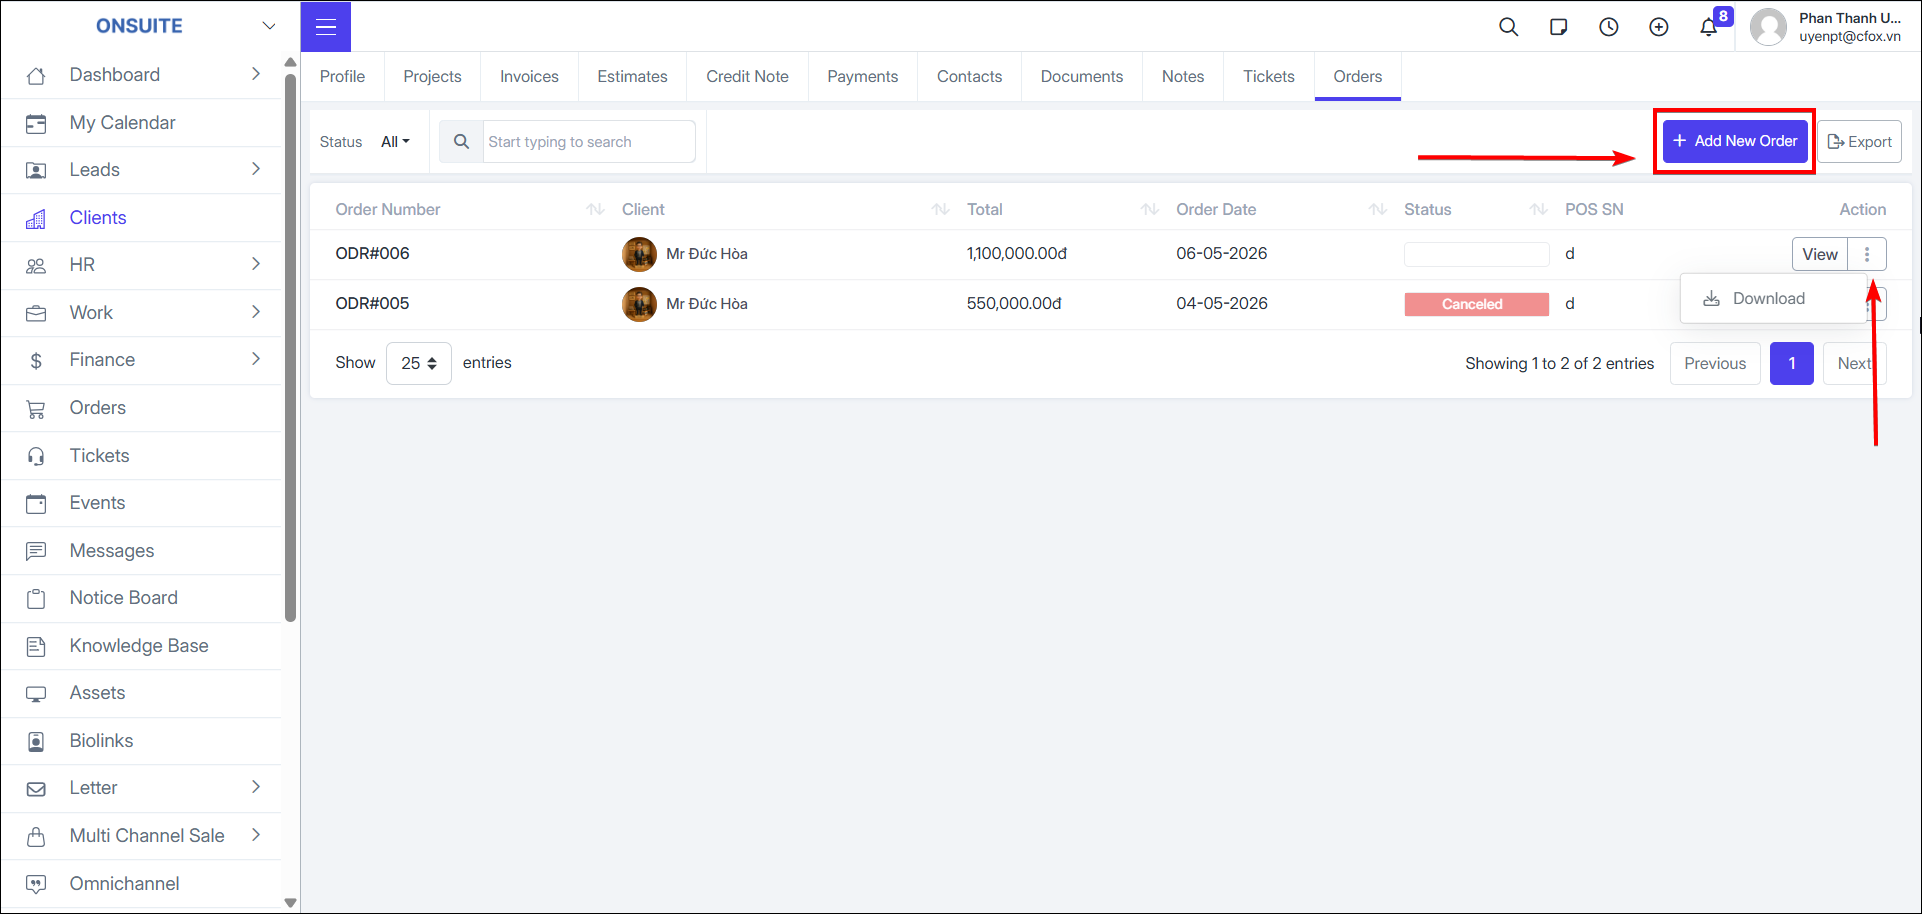
- Select Add New Order → System automatically selects client → Enter order details → Send to complete
-
Select to export to Excel
-
You can search or filter by status